By: Bears Butt
FYI: Arrows have stuff attached to them that help them fly straight….Feathers are called “Fletchings” and plastic is called “Veins”.
After getting all of my chores done yesterday I had some time to practice with my bow. The first thing I noticed was one of the plastic veins was coming off one of the arrows. I decided I would try my hand at putting on some real feathers. I figured that one arrow out of the three I have would not be a great sacrifice should my attempt not work.
I scrounged around for feathers and found some of the turkey feathers I brought back from Missouri from my turkey hunt out there. They should work perfectly.
Then I went on line (my biggest source of information, trouble and assorted good stuff) and found a do it yourself guide to putting feathers on an arrow. A great source that showed how to peel the feather away from the quill and then a bunch of other useful information.
I set myself up with super glue, newspapers, toothpicks and napkins (to clean up the mess I knew I would be making).
With pocket knife in hand I finished the job of taking off the plastic veins that were almost off the arrow. That didn’t take much and then cleaned up the arrow shaft. I marked where the veins were with a permanent marker so I would know where to put the feathers.
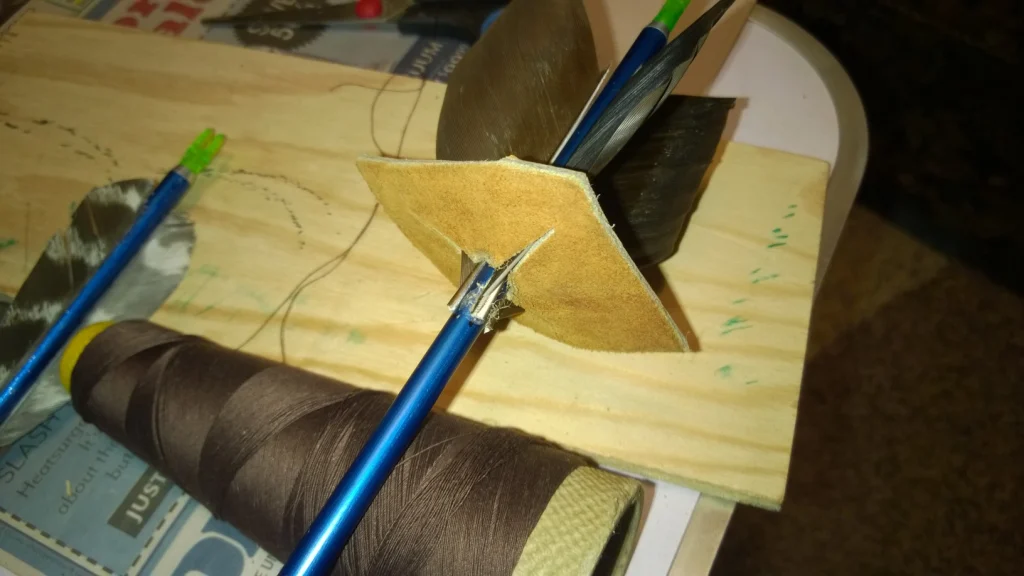
OK, so here I must admit, most people who are going to put fletchings on their arrows are going to make dang sure those feathers are perfectly straight on the shaft, or they will put them on so the arrow will turn while in flight, which requires the feathers to be put on sort of slightly wrapping around the arrow shaft. Each arrow has 3 feathers or veins to help achieve the straight flight. Well, in my way of thinking, I was not about to buy a fletching devise to make sure my feathers were on straight. After all, I have marked the old position of the vein and it looks pretty straight. All I have to do now is make sure I glue the feather down right along the line I have marked. That will make it straight.
I put a small line of super glue on the arrow shaft and then grabbed up a feather. Looking at the feather I decided the end closest to the tip of the arrow should also be the end that came from the point closest to that of the end of the quill of the feather. That way the feather will fly according to how God intended and not against the way the air will flow over it. I held it in place for what seemed a very long time, but the feather just would not adhere to the shaft of the arrow. The super glue was not setting up at all. This was frustrating. Super glue always sets up quickly and usually way to soon to get the job done that I need to get done. This was not the case with this job.
OK. After about 10 minutes I gave up on that tube of super glue and went in and got another tube. Does super glue go bad sitting in the tube? I didn’t think so, but what the heck, let’s try a new tube. I cleaned up the mess from the arrow shaft and put on a new line of glue from the new tube. Again, holding the feather in its place another 10 minutes and still it would not stick down. Now that is frustrating! What next? What other kind of glue to I have? AH HA! Contact cement! I headed for the basement and pulled out a quart can of contact cement! This stuff will work!
I had purchased this can of contact cement back in about 1988 for a job I was doing that required contact cement. I knew I had used most of it, but my nature says, “don’t throw that away, you might need it some day”! Well, today is that day! I grabbed up a few toothpicks figuring I’d dip the end of the toothpick into the cement and spread it on the arrow shaft, and then do the same to the feather. Using my trusty Gerber and its ever so useful flat screwdriver blade, I pried open the can. With the lid off, I peered down into the 1/4 inch thick layer of contact cement and immediately realized the smell was way stronger than I remembered. Pulled out a toothpick and poked it into the layer of cement. HARD AS A ROCK! Bummer. Now what?
I guess sitting that long the contact cement just had to do something.
Now my thinking cap was really going. What else do I have around….I went to the utility cabinet and began my search….Gorilla Glue….Elmers….Scotch Tape…hmmmmmmmmmmm.
I was having a tough time coming up with something acceptable….AND THEN my eye fell upon a round tube that contained fixings for repairing a bike tube! Opening it up, sure enough there was a tube of “rubber cement”…..Now isn’t rubber cement and contact cement the same thing? Maybe not, but it is worth a try for this project.
I dabbed a line of rubber cement along the arrow shaft and then dabbed the feather in it and pulled it out and away. Rubber cement and contact cement usually have to be almost completely dry in order to have two items stick together with it. I waited about a minute and then carefully touched the feather down to the arrow shaft…..it held! I completed the task and had it almost perfectly straight along my line! I felt good!
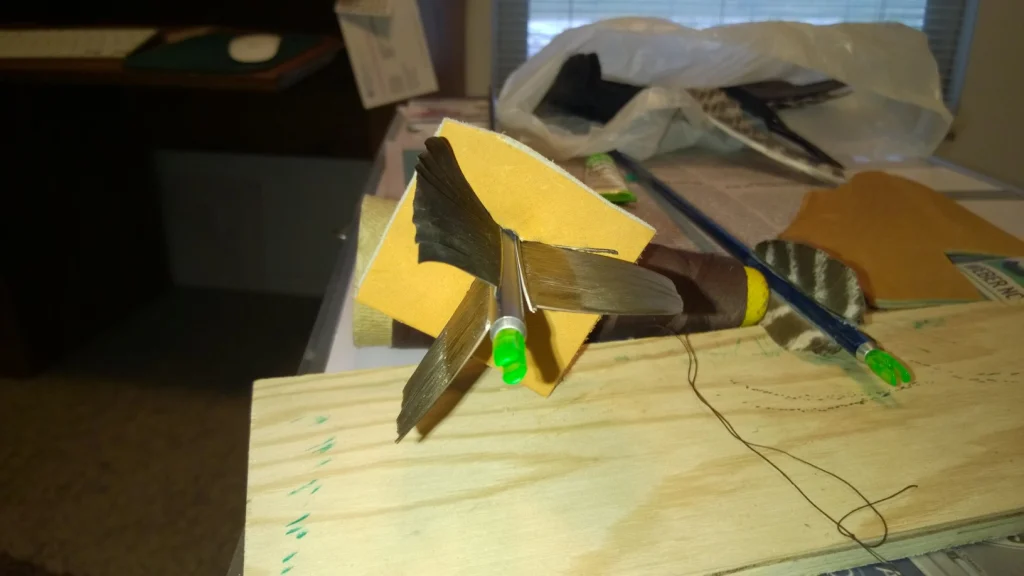
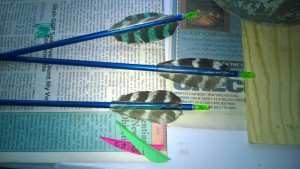
I rotated the arrow shaft on my make shift holder and repeated the process two more time! Now I have all three feathers glued to the arrow shaft. Of course they were way to big and needed to be cut down. I used one of the plastic veins as a template and marked the feather with the general outline I needed. A set of smallish scissors and the job was done. See the picture above.
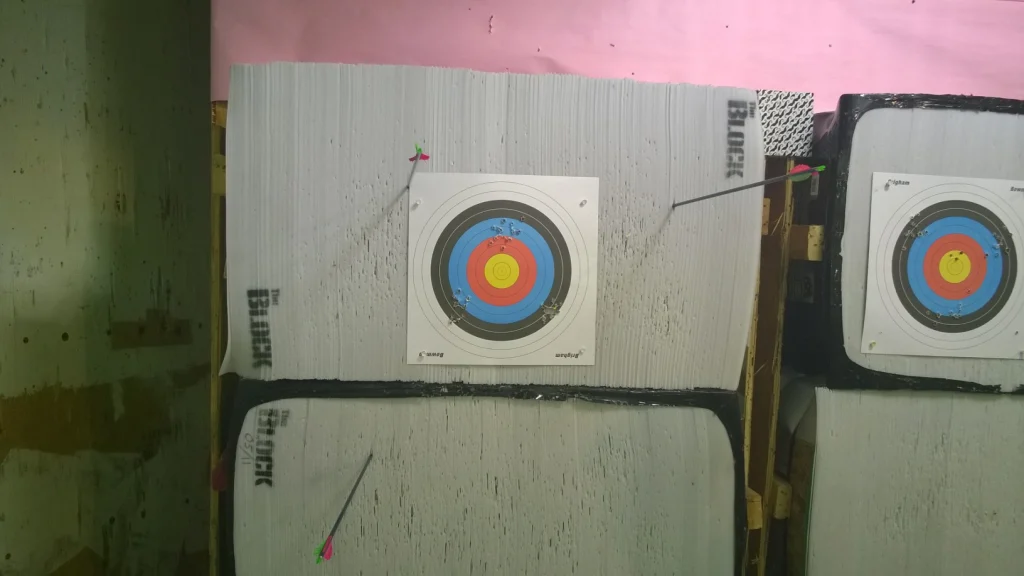
Well, I gave the glue about a half hour to dry and then took the three arrows I own out for a test drive. Mind you, only one of them have had the veins replaced. I stood on my 8 yard mark and fired the two plastic veined arrows at the mark. They flew their normal way, dancing down range and came to rest in the target on about a 30 degree angle upward in the rear. Not a bad shot with either arrow I might add. Now for the fletched arrow. I wasn’t sure the feathers would even stay on the arrow and so with some caution, I drew back on the bow, made sure my anchor points were all in place and let er fly!
Had I had a movie camera facing toward my at that moment, I’m sure you would have seen my eyes widen and my mouth drop open. That arrow flew so straight and true and it hit exactly in the center of the target and stuck straight out! Not at the 30 degree angle the other two were sticking out at.
I walked down range and retrieved the three arrows and walked back to the 8 yard line. Thinking all the while that the fletched arrow’s flight was just an accident. I proceeded to shoot the two veined arrows again with the same results as before and then the fletched arrow. ZIP! And just like the first time, it went well….straight as an arrow….and stuck into the target! I gathered up all my stuff and headed into the house to announce to Winemaker that I would be tied up for awhile while I fletched the other two arrows.
So, there you see the three fletched arrows! Ready to go to the range today!
____________________
It’s Sunday and the range in Brigham is open from 11 a.m. until 2 p.m., Weasel, Squirrel and I are headed up to see what we can do.
Well, my first shots were not what I expected and upon gathering my arrows I noticed one of the fletchings was coming off…bummer….The club gave me some quick drying fletching glue and I made an attempt to re-attach the fletching. After 10 minutes it felt dry and so I shot it….When the arrow hit the target the fletching floated slowly to the floor. For the rest of the time we were there I continued to shoot that arrow with only two fletchings and I was surprised it flew pretty straight.
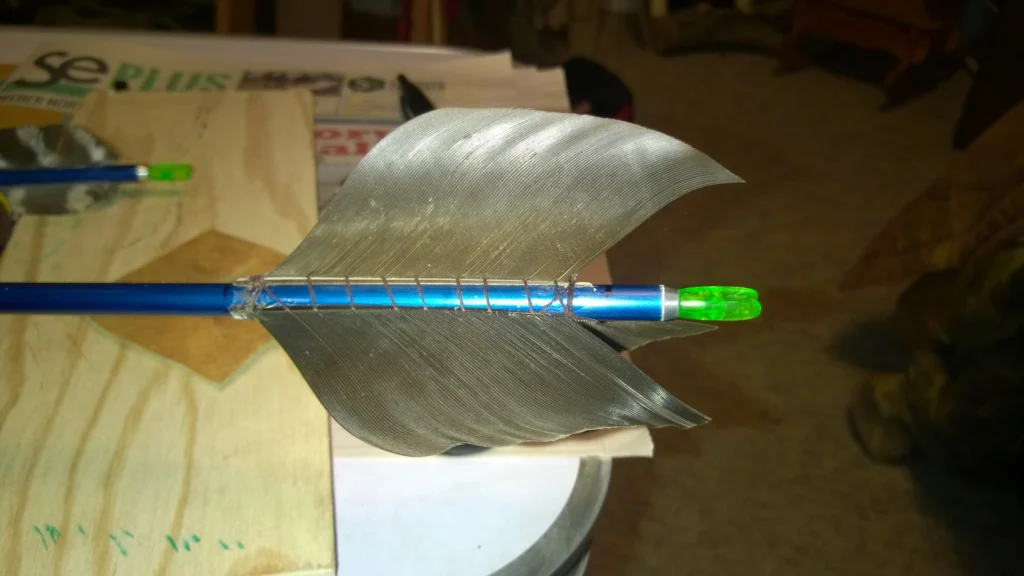
Talking to “Lynn”, my go to guy from the Brigham Bowmen Club, he informed me that I really needed to scrub the arrow shafts down with dish washing soap until they squeak when being rubbed. By doing that the glue will adhere and keep the fletching on. He also recommended I tie the fletchings on with string or sewing thread as well as with the glue.
So, here I am and will be re-fletching all three arrows using his method.
____________________
So, Lynn is my go to guy and he suggested I try and shoot a bow with a bit more pull poundage than the 20 or so pounds I have been shooting. He went to the clubs cabinet and came back with a nice PSE bow that said 62 inches/ 20 pounds pull written on it. Well, other than the looks of it and the length, the pounds pull should be the same as the one I’ve been shooting. I stood to the line and the first thing I noticed was a much harder pull than my bow. I pulled it back, found my anchor points and let it go! The arrow flew almost as straight and flat as if I was shooting a much heavier bow. It also felt more stable, I suppose because of the longer length. I don’t know what it was, but it felt really good. After shooting the 3 arrows, I was very surprised that all 3 were within about a one foot radius of each other. We discussed that and the fact that the arrows flew so flat…Lynn thinks it is time I invested in a heavier bow and even go up to as much as a 35 pound pull.
I plan on going to the range tomorrow evening and Lynn said he would bring a 30 pound bow he has at his home for me to try out.
What’s the end goal for me at this point? I’ve only been shooting since just after Christmas and already am ready to upgrade to a heavier draw weight bow. Well, since Conners Bow hunt for deer was so much fun, perhaps I should shoot for a 45 pound draw weight bow and try out some bow hunting. That won’t happen this year, but maybe next year….we will see…Maybe I won’t even be able to draw a 45 pound bow back. When you think about it, that is quite a lot of pull. Time will tell.
Bears Butt
January 11, 2015

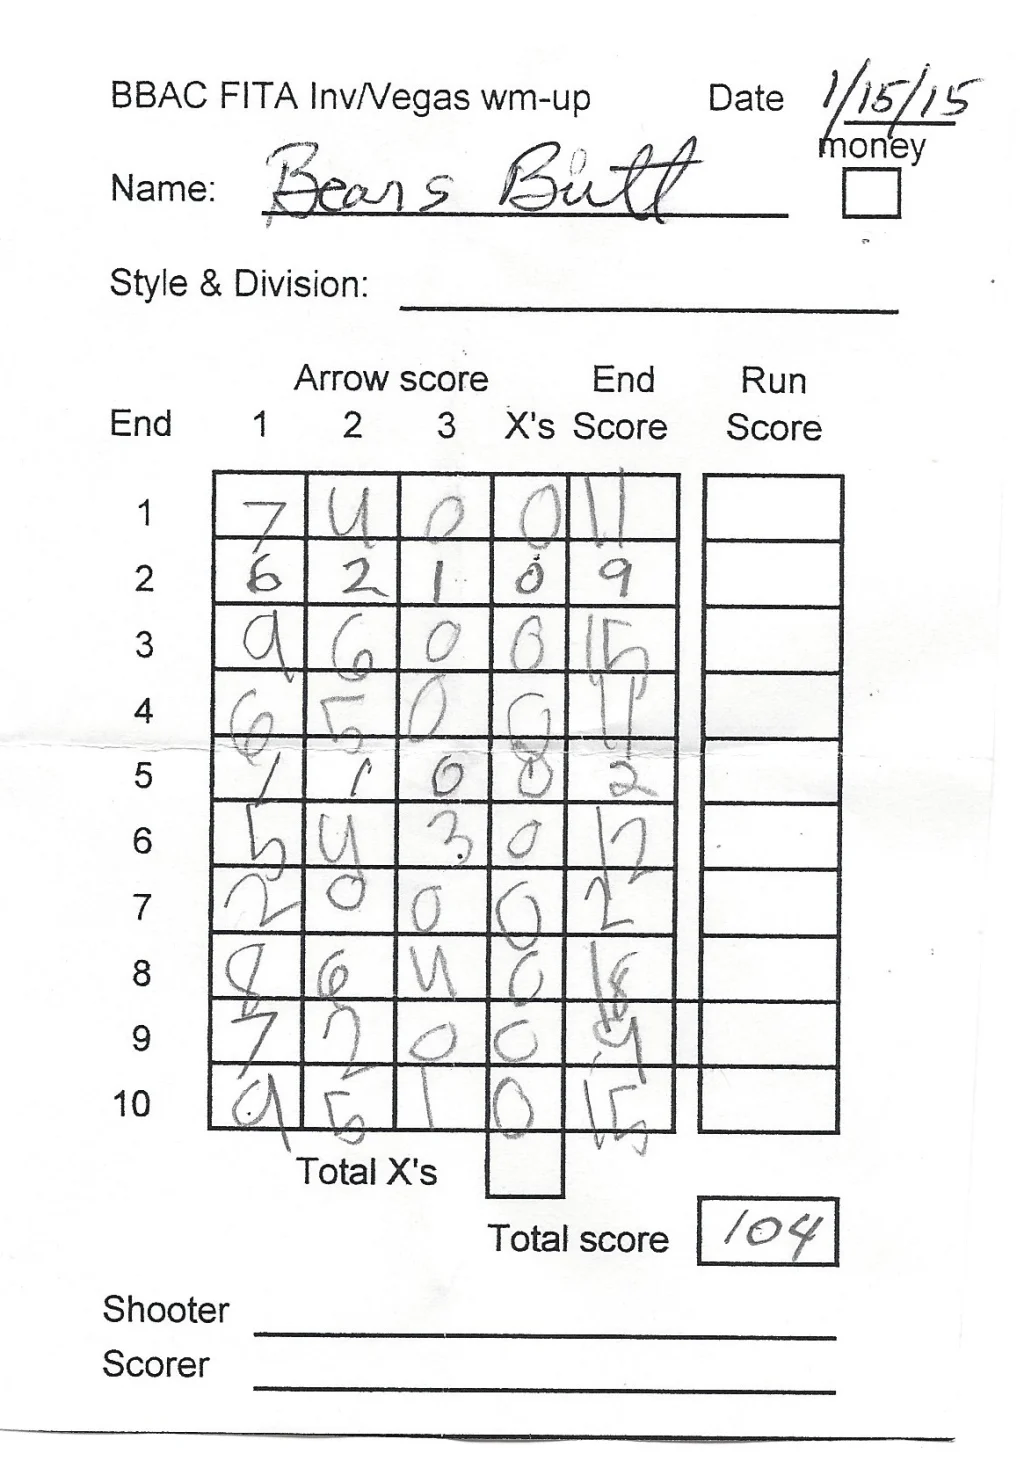 104! With 7 zeros and no x’s. I did have 2 nines but I also had 4 ones.