By: Bears Butt
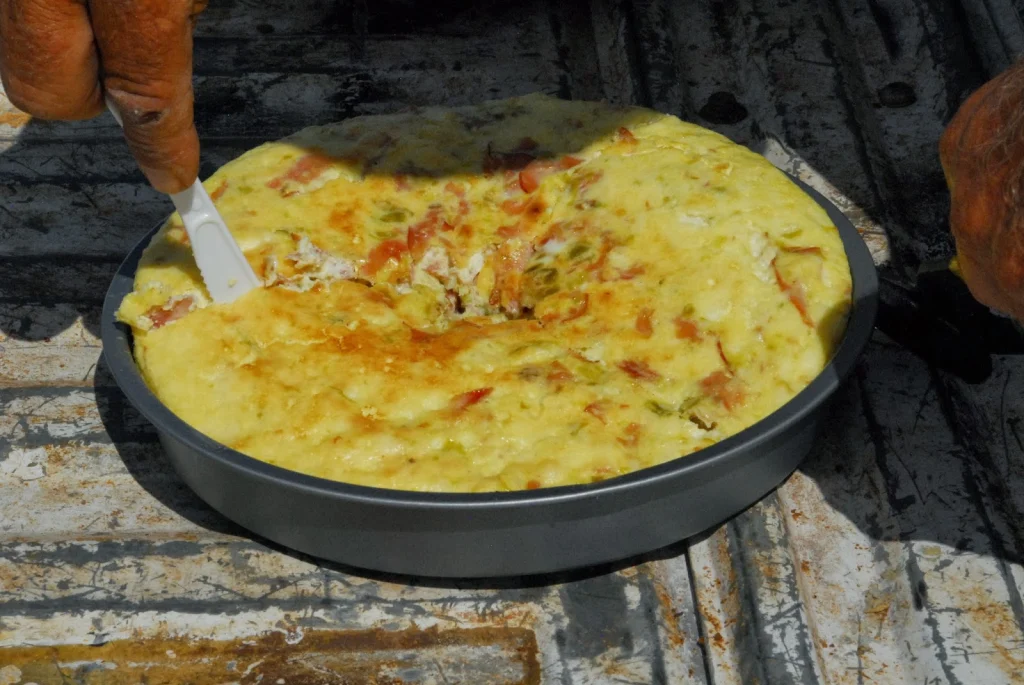
Sweet Bread!

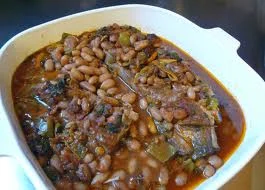
Chili!
Today is a multi-tasking day! I saw Sherry off to work and then MY work started! A big old pot of boiling sweetbreads and a double batch of chili! Both of these dishes are yummy to my tummy!
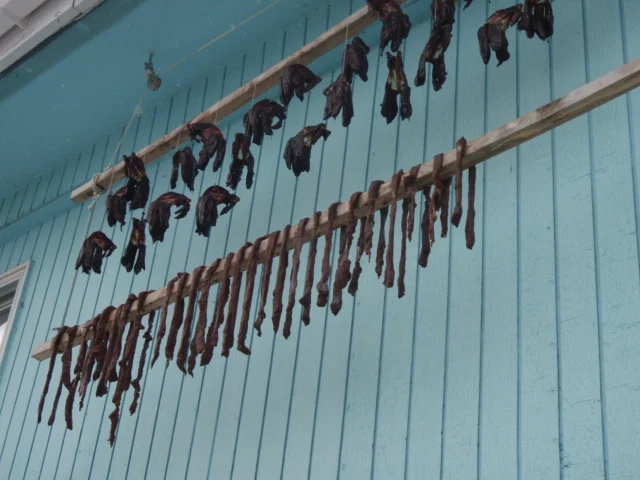
Well, the sweetbreads are pretty much an easy task with one exception…preparation! You can go on here and read how to do it, just search for sweet breads or sweetbreads and it will pop up. Enjoy yourself and remember…even though your back hurts really bad by the time you get finished prepping them, the enjoyment of eating them later will make you forget all about the pain!
But the main reason for this writing is my chili recipe! I always like to take a look at the recipe before I begin cooking even if I have it memorized, just so I don’t forget some important part or something. Well, I came on here and did a search….NOTHING came up! My first thought was that my site had been hacked and some of my stuff vaporized…but that was not the case. I looked through every posting under recipes and no chili recipe was there! SO! Today it will be posted up!
I’m currently waiting for my back spasms to die down a bit from standing over the sink the last hour and a half doing the 9 pounds of sweet breads, so this is a good break.
BEARS BUTT’S CHILI:
Please read all the way through this recipe before beginning to cook it! I’ve warned you.
My chili recipe is not any different than anyone elses, but here it is anyway!
What you will need: 1 lb of beans…I like red beans, but pinto beans are good too. Today I’m making a double batch so I have a pound of each and of course everything else is doubled as well.
1 Lg. yellow onion (chopped)
1 Lg. green pepper (chopped)
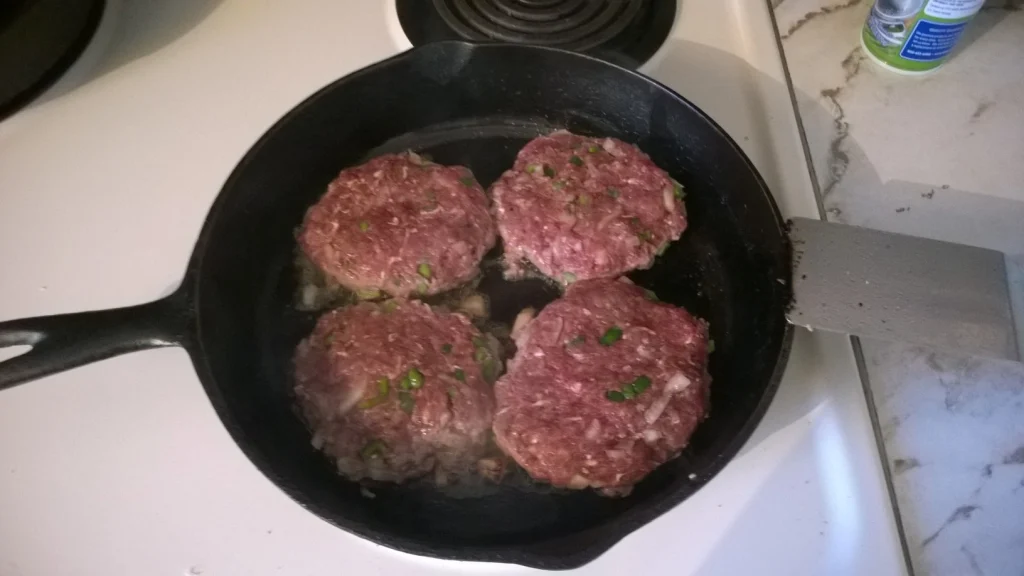
1 Lb. burger (today, one lb. of venison burger and one of beef, I don’t want to run out of venison too soon, it’s still 7 months till archery season).
1 Lb. Chili con carni mix
Salt, pepper, garlic powder, chili powder
1 Qt. tomatoes (the way mom always puts them up)
1, 8 oz can of tomato sauce (optional)
Simple ingredients for a simple yet delicious meal!
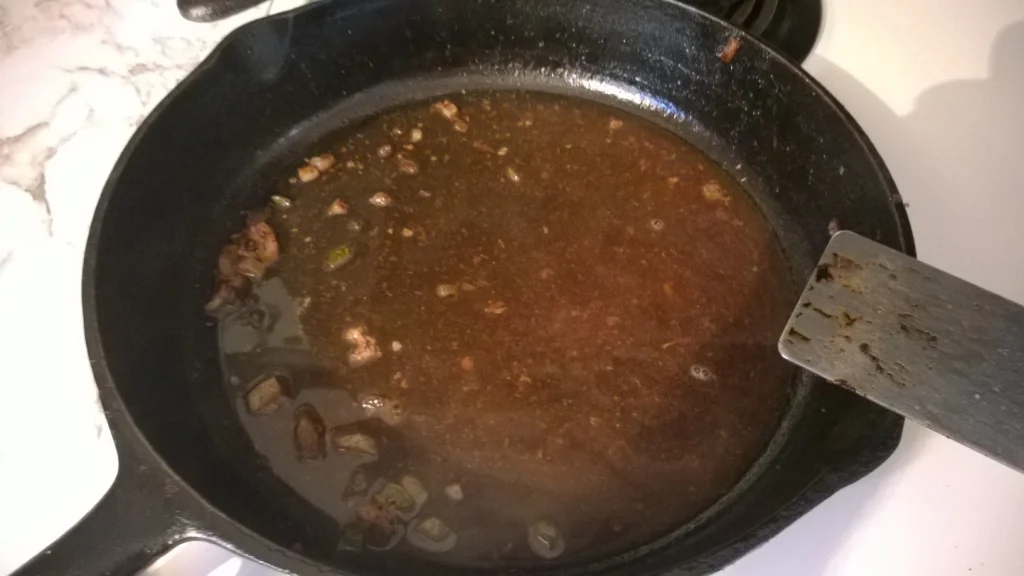
In a fry pan mix and fry the burger, onions and pepper until the meat is done. If you have purchased greasy hamburger you will want to drain it off at this time. Nothing will spoil your chili like having that tallow taste on the top of your tongue after a bite of chili with too much grease in it! (I am finding myself smacking my tongue against the roof of my mouth right now).
When that is done, toss in the chili con carni mix and blend it in, add 1 1/2 teaspoon of salt and mix that up too. Once all that is blended in together, you are going to add this to the pot of beans.
HOLD IT! Where is this pot of beans?
I forgot to tell you at first. You are going to have to sort your beans out and soak them over night….LAST NIGHT! Well, you might as well tell the family you won’t be having chili until tomorrow night because you didn’t read all the way through this recipe before you started making it! Don’t blame me! I warned you! It’s you that wants to make this chili! Always read through the recipe and make sure you have ALL ingredients before beginning to cook it! Also, make sure you are following the directions (some say “to a ‘T'”….I say, follow it…”sorta”).
So, now you have sorted the beans and picked out all the rocks and ugly stuff, right? Then you put the beans in a large bowl and covered them with water, like an inch over top of the beans in the bowl, and soaked them overnight…right? Now pour the swollen beans/water through a colander (a bowl with lots of holes in it. If you don’t have one of those just carefully pour the water off the beans and be done with it. Pick up dropped beans and put them in the pot with the rest….it’s O.K.). Give them a quick rinse and then dump them in a pretty big pot. Pour water in the pot until the beans are covered by at least an inch of water (2 is better) and start the pot boiling. CAUTION: Keep an eye on the water level in the pot and add water as necessary during boiling process.
You know, pots of beans don’t come without some sacrifice.
Once the pot begins to boil you will have about 2 hours to wait until the beans are done. Begin sampling the beans after an hour and 15 minutes. Don’t over cook them, but don’t under-cook them either. I hate chili with beans that sort of “crunch”, I’d rather eat chili with beans that will mush when I press them with my (un-tallowed) tongue against the roof of my mouth. Those are the best! Keep in mind too, this is not one of Chef Ramseys chili recipes, and it probably won’t be seen on TV anytime soon, so it is your recipe as much as it is mine. Do what you want with the ingredients and mix things up a bit. I’m old fashioned and like my meals plain and simple, meat and potatoes, salt and pepper…that pretty much sums up my meals.
Let’s pretend the beans are now cooked just the way you like them! Grab up the pan of fried meat and add it to the beans! OH, you didn’t save it. You made taco’s out of it last night huh? Well, it’s a pretty good way to make taco’s if you ask me. Chili….Tacos….Mexican type food and they are a simple sort of culture…meat and potatoes kind of folks, why make a meat mixture any different for one thing than another? I agree. Well, get to cooking, you got chili to make.
At this point you are probably wondering…”Why doesn’t Bears Butt drain the pan of cooked beans? Look at the water in that pot! It’s all reddish brown and yucky looking”. Well, honey, this is my recipe and if you want to drain them go ahead, I like to think of it this way…Those beans have a lot of good stuff inside them and when I boil them some of that good stuff comes out into the water. Thus the color. Why would I want to take something that God put in them and dump it down the drain? Besides, water ain’t cheap and if I drain them I will have to add more.
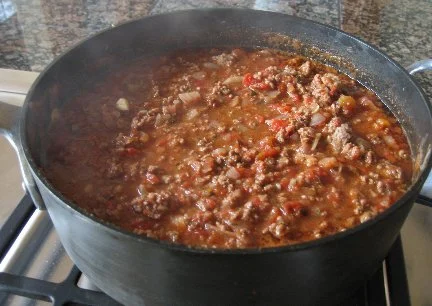
So, now I’ve added my fried meat mixture into the pot of beans (cooking water and all). Pour in the quart of tomatoes and the tomato sauce and stir it all up really good.
The mixture in the pan is rather “liquidey” right? Well, here is where really good chili takes a turn for the better. Even though all the ingredients are now in the pot, slowly simmer it down, adding garlic powder, salt, pepper and chili powder to your taste. The seasonings get stronger as it boils down, so be careful, especially with the salt. Keep in mind, you can always add it to your individual bowl if you so desire, but you can’t take it away from the big pot once it’s in there.
Don’t plan on leaving the house at this point in time and please don’t put a lid on the pot of chili. Let is slowly simmer and steam and make the windows in the house fog up…it’s all ok! The neighbors will wonder just what is going on inside your home….”Hey Ruthy, there is something going on over at Bears Butt’s place. The windows are all fogged up and I know for a fact Sherry has gone to work. What have you heard from your hair dresser”?…..
You will simmer this and stir it often as it cooks down, this part of the process takes a couple of hours or more. Please don’t let the mix stick to the bottom of the pot. Have just enough heat to make it steam and maybe occasionally blurp up a bubble. STIR! STIR! STIR! Keep this up until it cooks down to a “non-liquidy” state. It will take hours for this to happen but when it does your mouth will be SOOOO ready for a good bowl of it you can hardly stand it! It really doesn’t get any better!
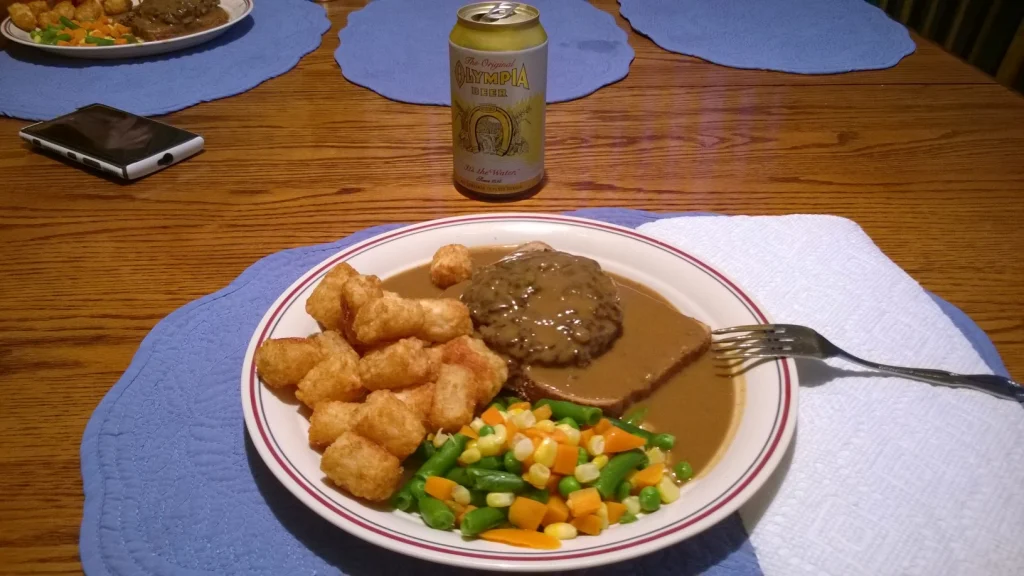
Serve it hot, with maybe some shredded cheddar cheese on top, but certainly with some Saltine Crackers and a can (or two) of very cold beer!
ENJOY!
Dec. 2022….I thought you might like to know just how much chili you can get from a double batch. So, I put in 2 lbs. elk burger (pure ground elk meat), 2 chili bricks from the store, one large onion, one large green pepper and two pounds of beans. Cooked it all up really good. I ended up adding at least 12 cups of water while it cooked, mostly to get the beans tender. Once it was all together I turned the heat down to minimum (number 2 on my stove) and let it simmer, stirring about every half hour. It simmered down to a consistency I like, sort of thick…it yielded, 14 bowls of really tasty chili!
Bears Butt
January 21, 2016 (I can’t believe I didn’t post this early in my doings)
Updated December 9, 2022