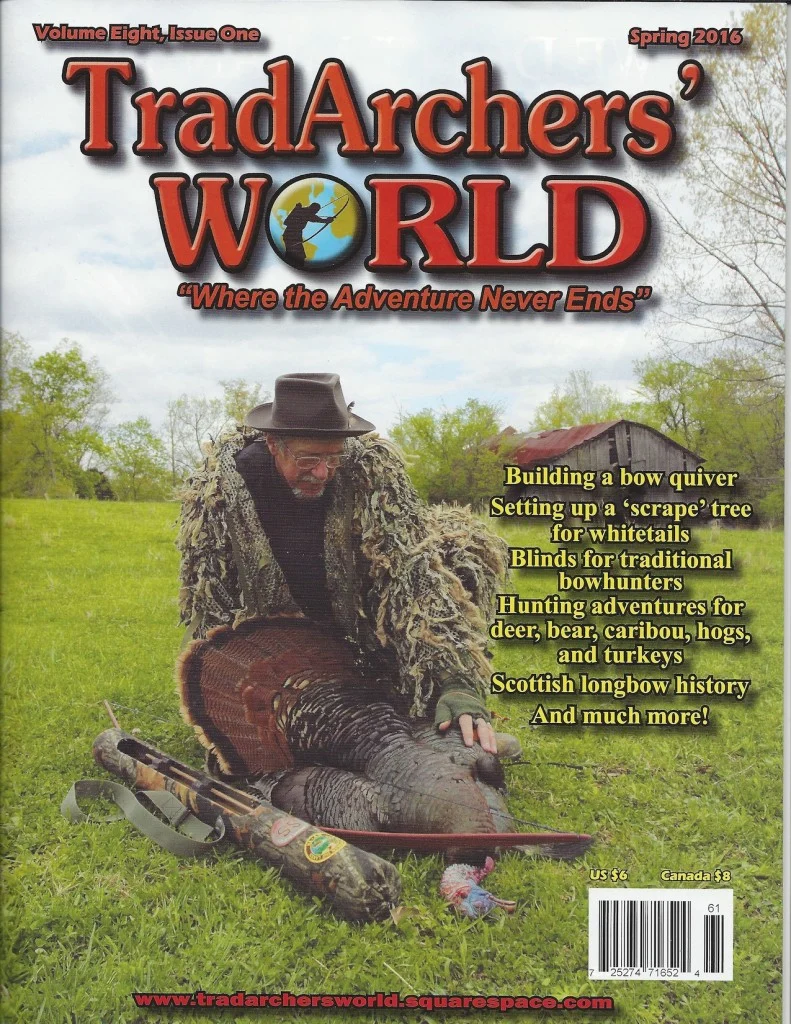
By: Bears Butt
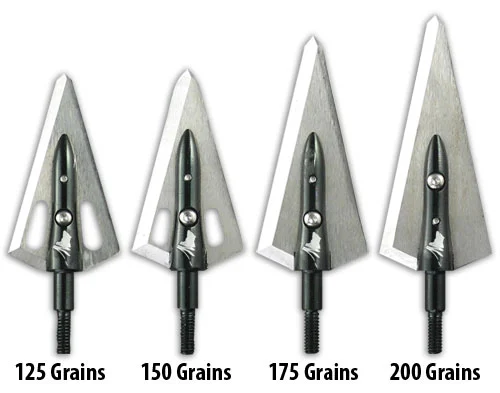
As most of you know my bucket list contains shooting a deer with a bow and arrow. In order to do that I first have to learn to shoot a bow fairly accurately. Second, I have to be lucky enough to draw a tag for archery here in Utah and Third, I have to be sure I have broadheads on my arrows and a way to carry them safely in the field while hunting (a Utah law and should be a law everywhere broadhead arrow points are used).
Well, as of right now I do not have any broadheads for my arrows. In fact I’m going to be modifying the fletchings on my arrows of choice changing them to right helical and parabolic in shape (I have the feathers, now just need Weasel to do the mounting of them). There are reasons for the shape and mounting, but that is another story. This story is all about the quiver to carry those extra sharp arrows in.
I made myself a nice quiver to clip to my side for shooting indoors and at 3D events, even out in the field using field points, but it would never do for broadheads. Broadheads require a thick foam or something for the broadhead and its razor sharp blades to hide in and keep anything from coming into contact with those edges. Most of todays quivers that are used to house broad heads use a very dense foam commonly called “closed cell” foam.
Well, again, as most of you who know me, also know I’m a cheap-0. I’d rather make something myself than spend money on it, if it is at all reasonable for me to do so. Thus the reason I made my side quiver. It may not look too good, but it is functional and I like it…I made it! OK…looking down the road. Here I find myself suddenly faced with the fact that it is February 2nd! Where did January go? The archery deer hunt begins in August! I don’t have much time to do the things I feel I need to do in preparation for the hunt! More practice for sure, LOTS of it! I still have a bad habit to break before that hunt begins and the only way I can do that is practice! Good practice!
At this time of year there are tons of activities to keep me shooting my bow. Leagues, 3D shoots etc. But pretty soon all of that indoor stuff will come to an end and Weasel and I will be hitting the field for our practice. When that happens I have to have my bow quiver made and on the bow. It makes perfect sense that if you are going to have something attached to your bow during the hunt, you best be practicing with that stuff attached before the hunt. The extra weight! The vibrations they may cause when shooting. And I’m sure the real shooters reading this can add a ton more reasons to have it attached to the bow for practice as well as hunting.
Give me some cold days where the wind is blowing the snow around and I’m locked in the house and that just spurs my mind into thinking of things to do…fun things…not house keeping or painting the walls…those are not fun. Well, recently my mind went crazy with thoughts of making a bow quiver.
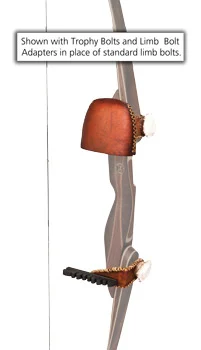
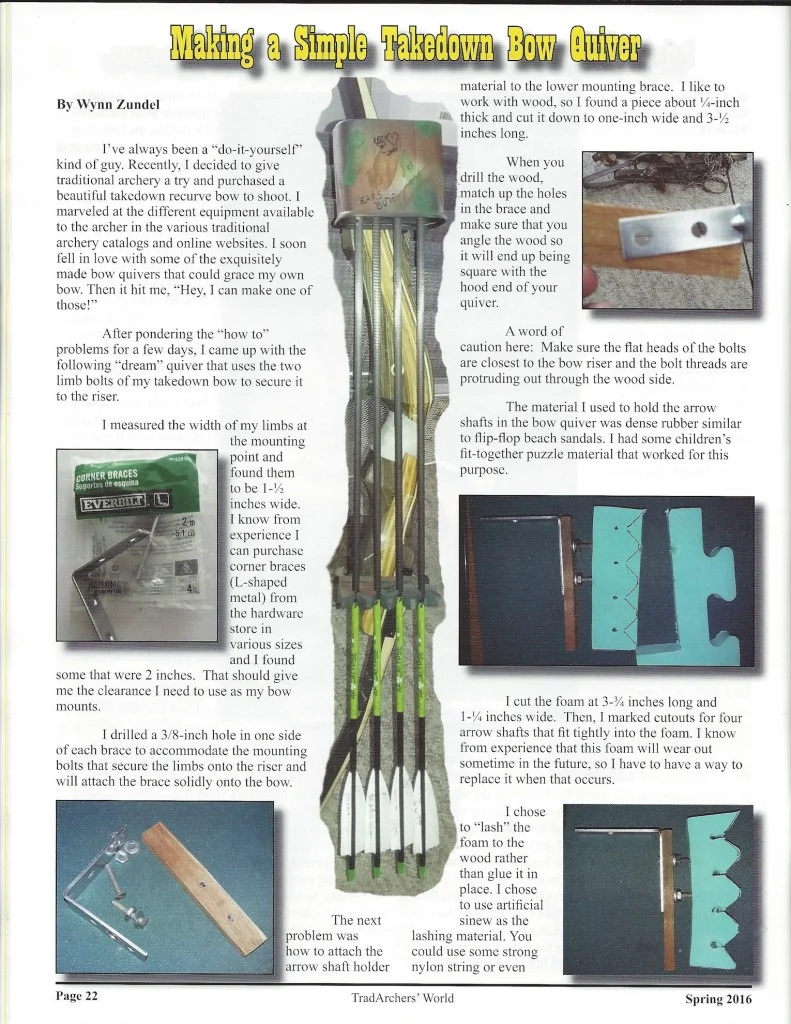
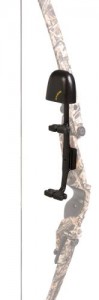
Dreaming as I flip through the pages of the 3 Rivers Archery order catalogue and the Lancaster dream book as well, I have come to love this bow quiver pictured on their pages.
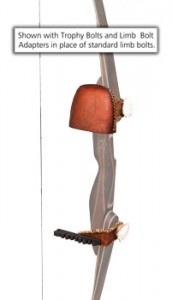
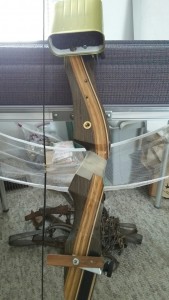
I have a bow that takes down with long bolts like the one pictured here, in fact, I think the bow pictured here is one like mine. Anyway, back to the bow quiver. The hood is the part that hides the broadheads, while the lower part is where the arrow shafts pinch in to hold the arrows in place. These types of bow quivers vary by manufacture, but this one by Selway is what I consider the “cats butt” (not Bears Butt) of bow quivers. Others look like these:
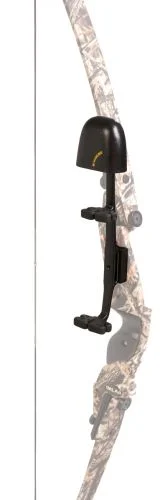
A Kanati Pro!
A Kwiki Kwick!
Each one has there way of attaching it to the bow, but I really favor the top one…the Selway brand…my problem? Budget! I do not have a budget for a bow quiver of this caliber and 3 Rivers wants well over a hundred bucks for theirs. It is worth every penny at their price, but it don’t fit my pocketbook…so here goes my brain! How do I make my own, fashioned after this model?
I went to the internet and found nothing! Zero! Zip! Sure there are lots of Youtube videos showing all kinds of quivers, some even attach to the limbs of the bow, but not like this Selway one. Well, where my passion lies, so will my brain and where my brain is directed, something will come about. It may not look exactly the same and it might not be pretty, but it will function like I want it to.
I often have dreams where an idea will hit me and sometimes, if the drive is there, I will get up and make a note to help jar my memory the next morning. This dream didn’t come at me with that kind of drive, but I have been amazed someone else didn’t think of this. The hood on the Selway is rounded and smooth and covered in leather. I love leather and there is no doubt if I had a nice smooth rounded hood like that I could cover it with leather and it would look almost the same as the store bought one. But I don’t have a hood that is nice and rounded and purdy like that. I don’t have a hood at all in fact. My dream fixed that!
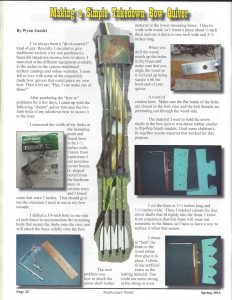
What would you use for a hood? It has to have some depth to it, say 2 to 3 inches to hold the foam used to cover the broad head and not allow the tip to hit the edge of the hood. It has to have a bit of width to keep the sharp edges of the broad head from touching the sides of the hood and lastly, it needs to be relatively light weight. Nothing gets heavier than something you are carrying in the woods with your hand and a bow is heavy enough without adding a ton more weight to it. But not only light weight, but it has to have some strength to it so as not to be crushed if you should fall on it or drop the bow or who knows what else could happen to it. I’ll come back to this in a bit.
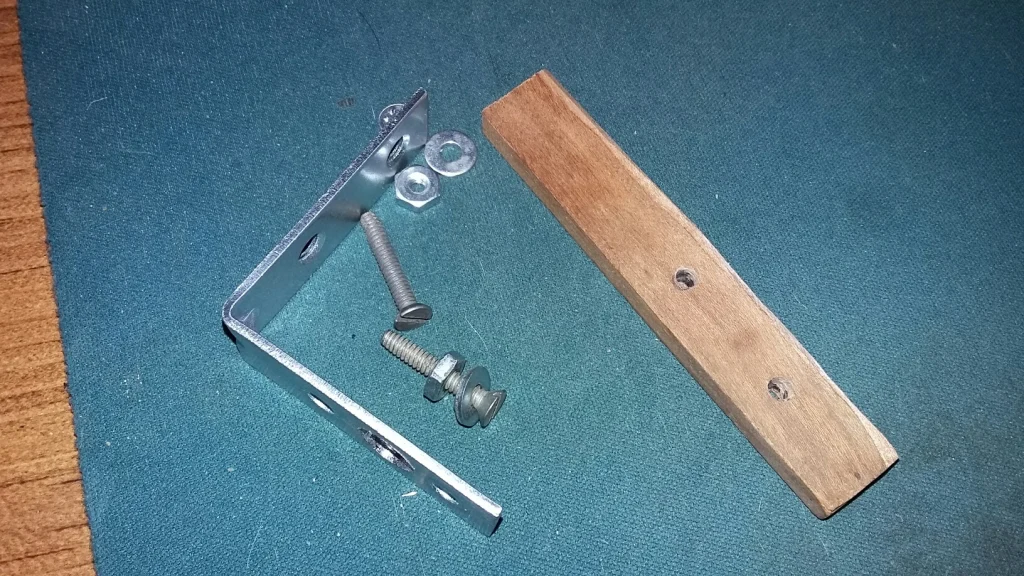
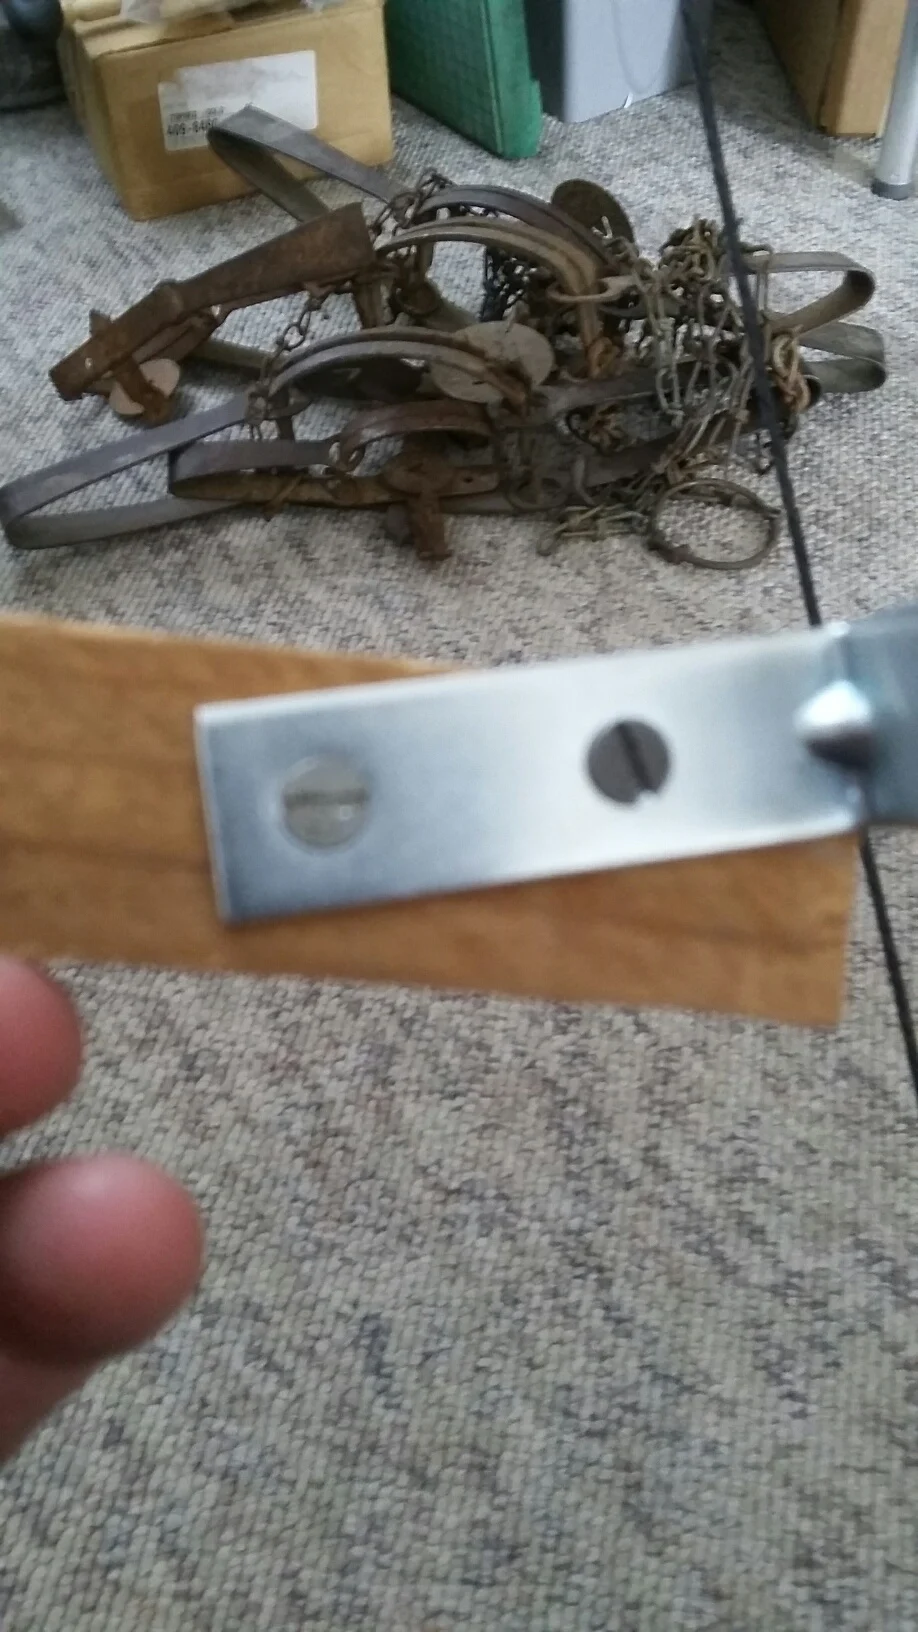
So, once we decide on what to use for a hood, we have to figure out a way to mount it to the take down bolts of my bow. “L” brackets came to mind on my first day of thinking about this. I made a measure of my limb width and a 2 inch bracket would work fine. Later, while buying something else at Home Depot I remembered “L” brackets and went over and found them. They don’t call them “L” brackets however, they call them “Corner Braces”! Mine are called “L” brackets no matter what they want to call them. I bought them for a couple of dollars for a package of 4 of them. I suppose they package them in fours in case you are building something like a box and need one to “brace” each “corner”.
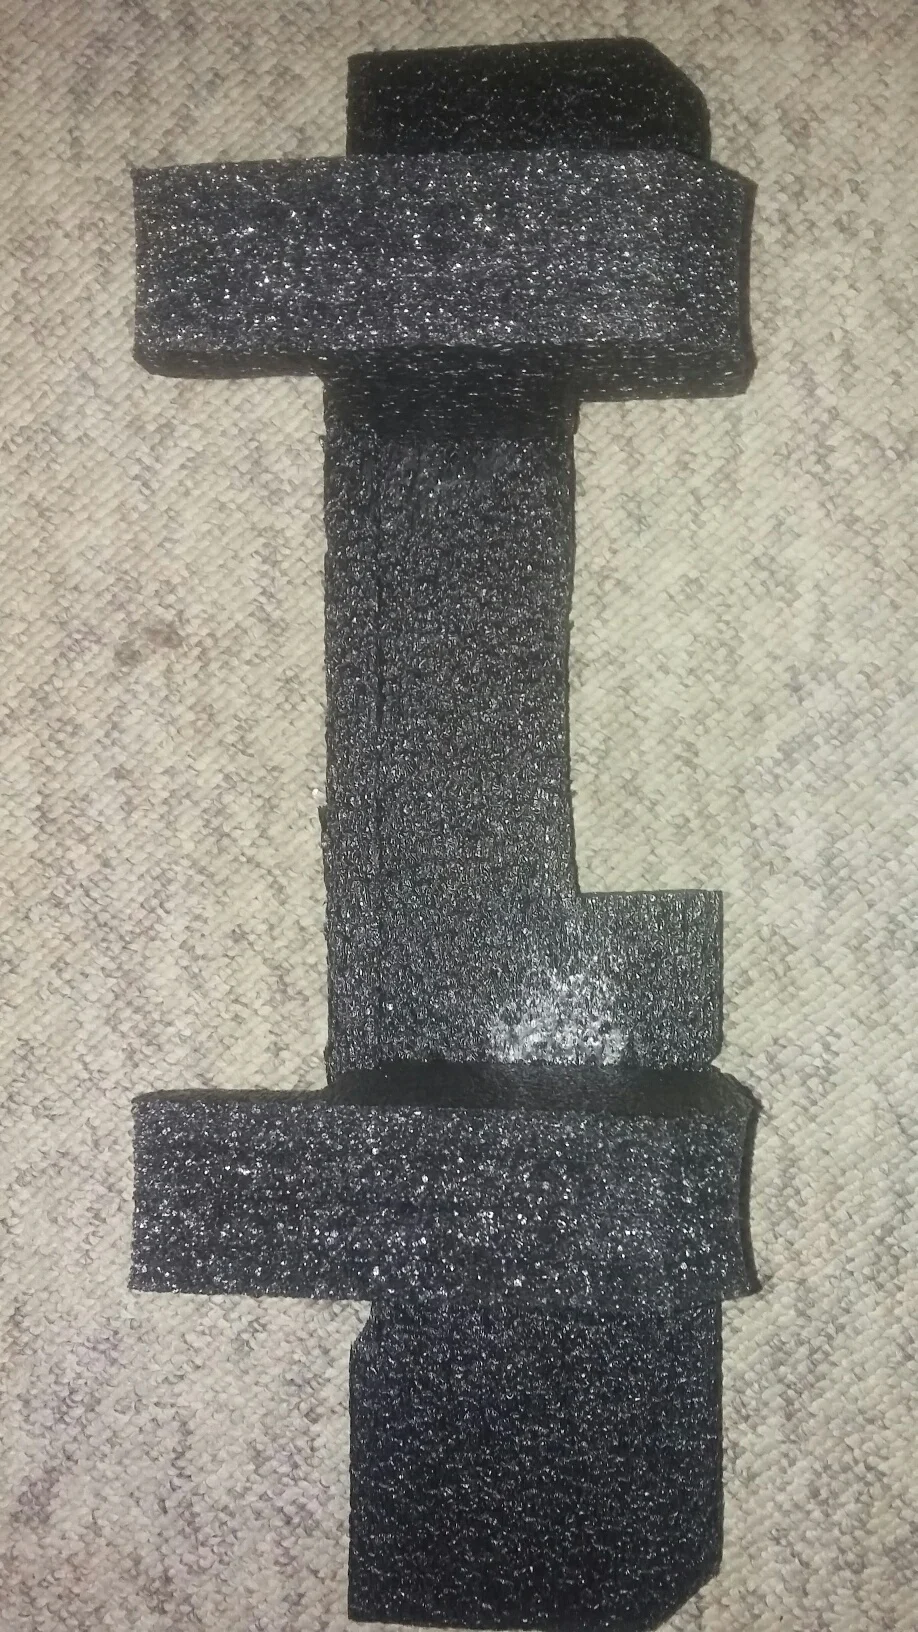
So, I’m into this bow quiver $2 right now, but I still don’t have it made, nor do I have all the stuff to make it. What else do I need? Foam! Closed cell foam to be exact. I have some that I have mounted in my garage to shoot into, but they are only about 1/2 inch thick. I need a block of foam that is tough and yet can be cut, carved, shaped etc. to fit my needs. Mostly to fit inside the hood and hold the broad heads. I have been racking my brain about “stuff” laying around the house when suddenly an intuition (and a need to get another 12 pack from the fridge down stairs) came and I found myself scrounging in the empty boxes (present wrapping boxes) down there and there it was, right before my eyes! The heavy foam that supported Winemakers computer when it was shipped to us! Perfect foam! Absolutely perfect!
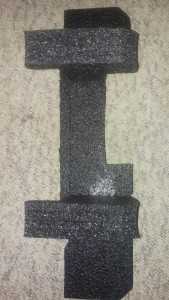
It’s wide enough! It’s thick enough! Lordy, Lordy! Thank you for guiding me to this box full of tons of broad head covering foam!
By now you know I’m teasing you about my choice for a hood and I will continue to tease you because I want you to finish reading this and not go out and get your own hood and begin making your own bow quiver. By the way, as a side line to all of this, please click on one of the ads to the side of this story…they pay me well if you do. You don’t have to buy anything, just click on the ad…nuff said.
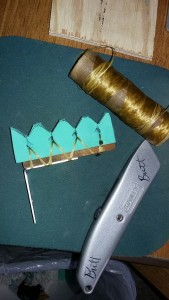
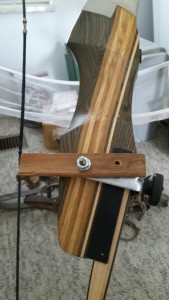
So, I have the hood thing figured out, now what about the thing that will hold the arrow shafts and keep the arrows from falling to the ground? That’s an easy one. Again I’ll use an L bracket and all I need is a piece of thin hardwood to hold some foam. The foam will be cut so the arrow shaft is pinched in the foam and not allow the arrows to slip out.

That piece of hardwood measures 3 1/2 inches…give or take because the length only matters to those with scientific minds.
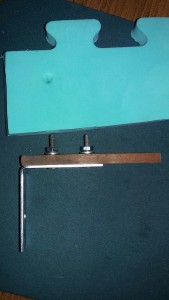
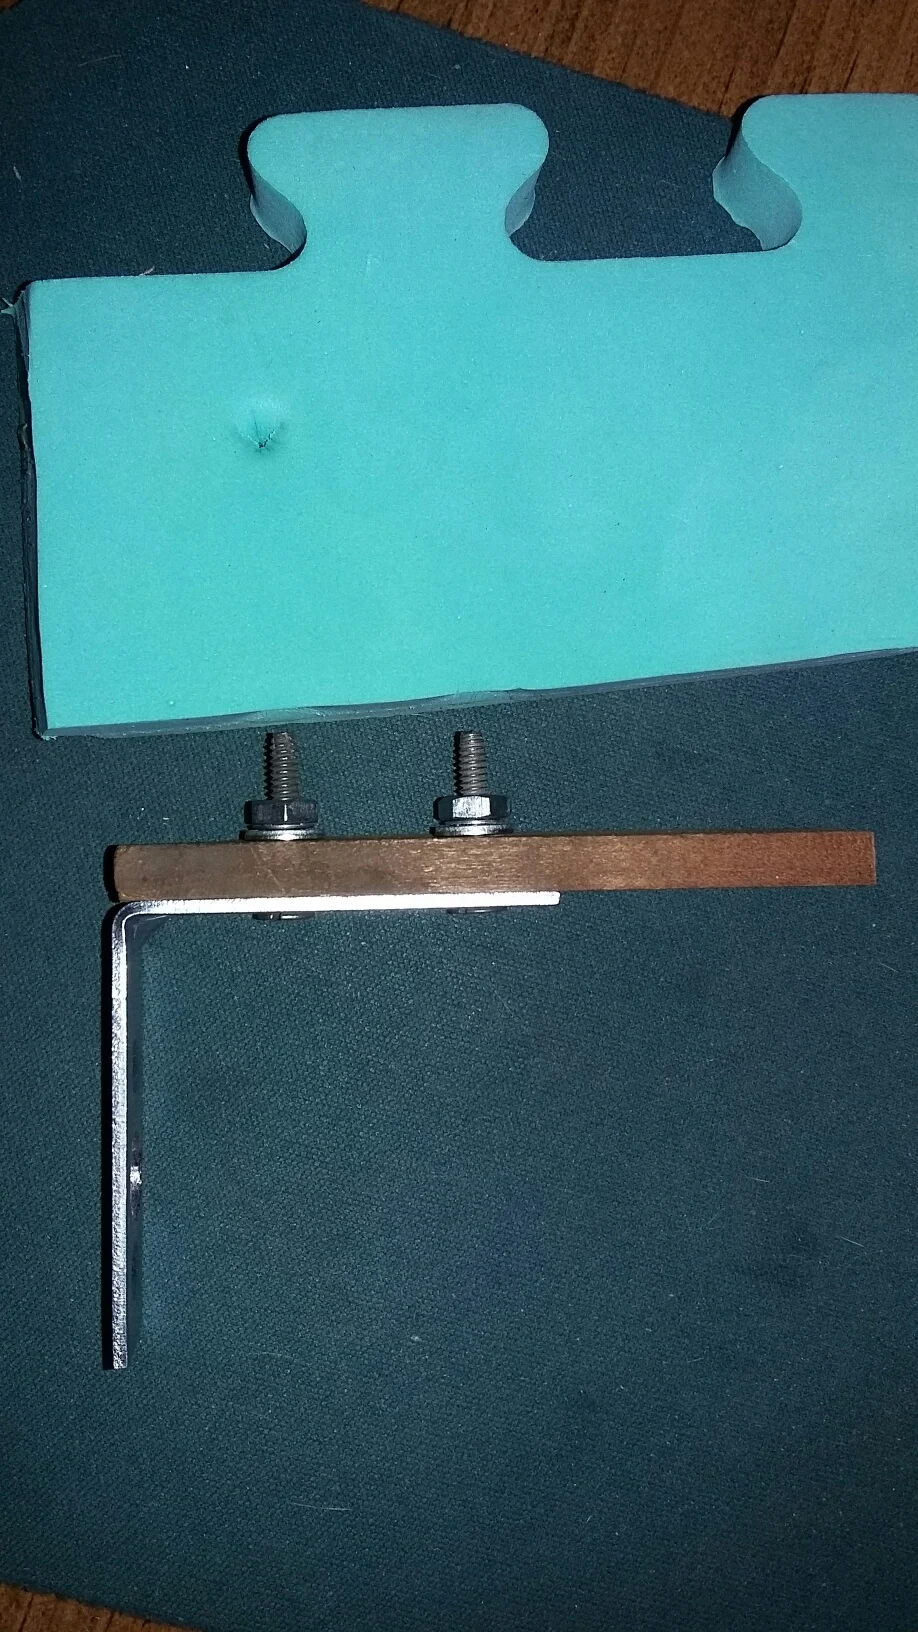
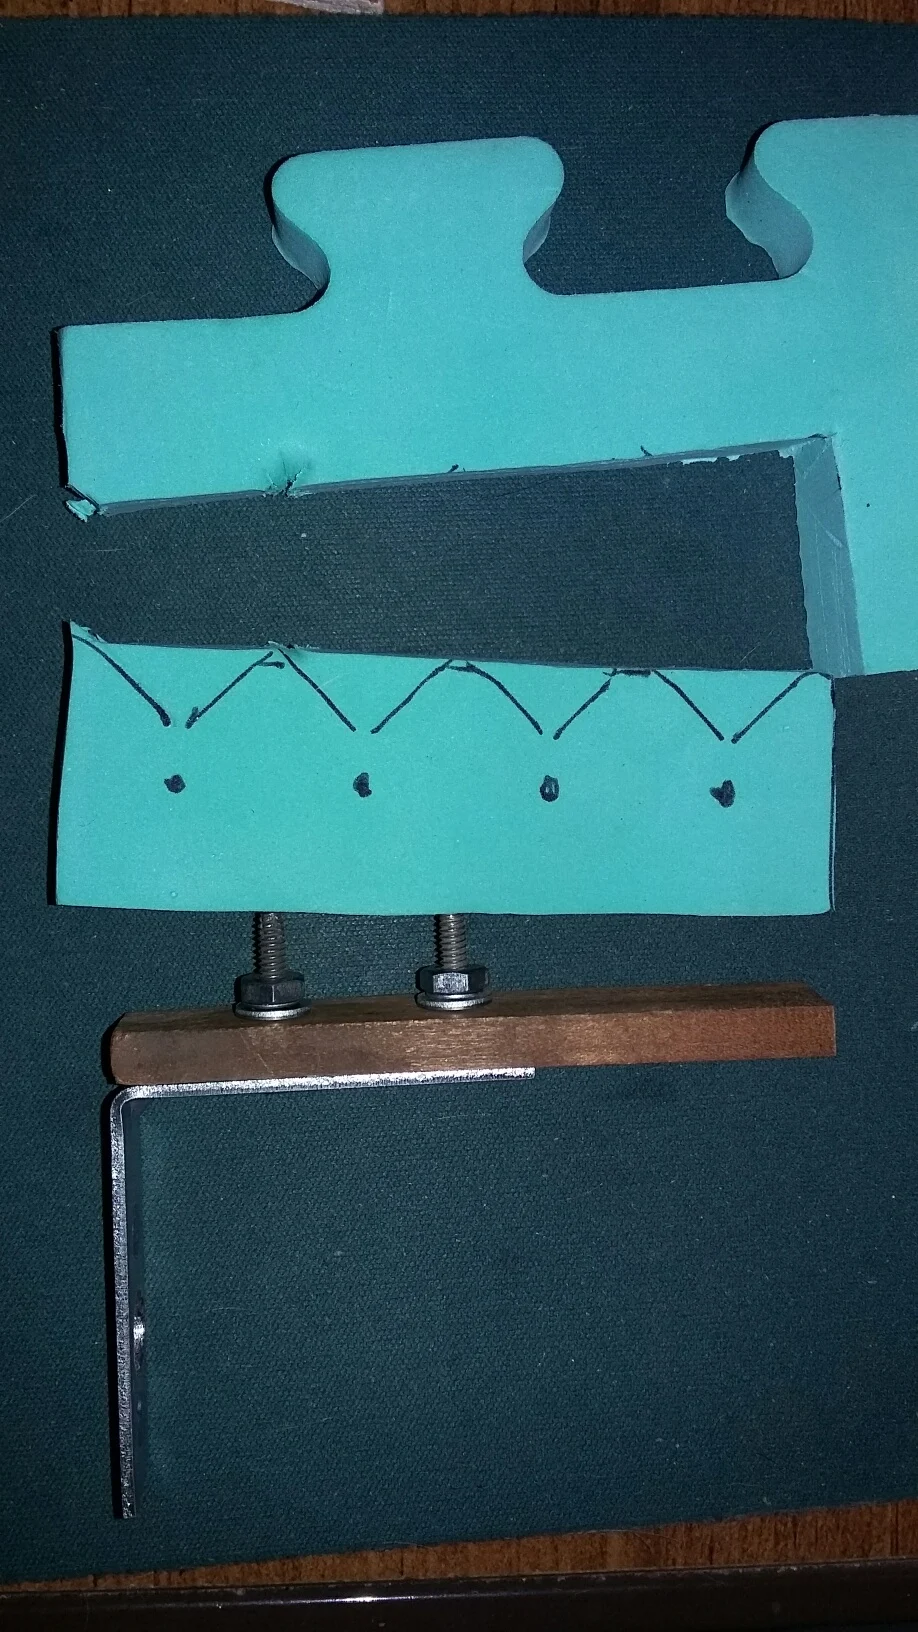
Look at that foam! It’s a piece of a kids puzzle that has alphabets and numbers and they fit together to make a large mat. I picked up a whole set at DI (second hand store in Utah) for $1. I have it mounted to protect my walls in the garage from stray arrows and to help slow arrows down from going punching through the bale I shoot at. They work very well and I have no doubt this material will work to hold my arrows.

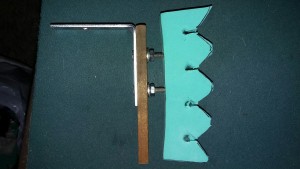
I cut the foam about 1 1/2 inch thick and again about 3 1/2 inches long and marked it as to how I want it cut to hold the arrow shafts. The dots represent the center of the arrow shaft once the foam is cut. I worked a bit with this until the arrow shafts would fit snug and stay put.
Now to fasten it to the wood of the brace. My mountain man instincts took over on this one. I have what’s left of a roll of artificial sinew and since this part of the bow quiver will wear out relatively quickly, I wanted a way to be able to replace it without too much time or trouble. So, I employed some of that sinew and wrapped it!
That baby is only going target shooting and hunting and no where else. It is lashed down good!
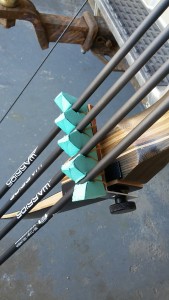
Well, how about that! It holds those arrows pretty dang good if I do say so myself! Bears Butt, you are a genius! Well, maybe not, but close. I don’t think I’m the first to think of this one. In fact I saw someone on You tube who used a rubber flip flop shoe to do the same thing as a replacement for his bow quiver.
I’ve teased you enough, now to show you how simple a thing is to come up with a hood! You are going to slap yourself on the forehead and say “Why didn’t I think of that”?
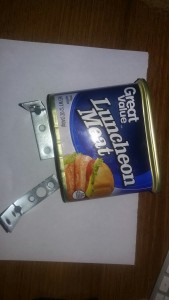
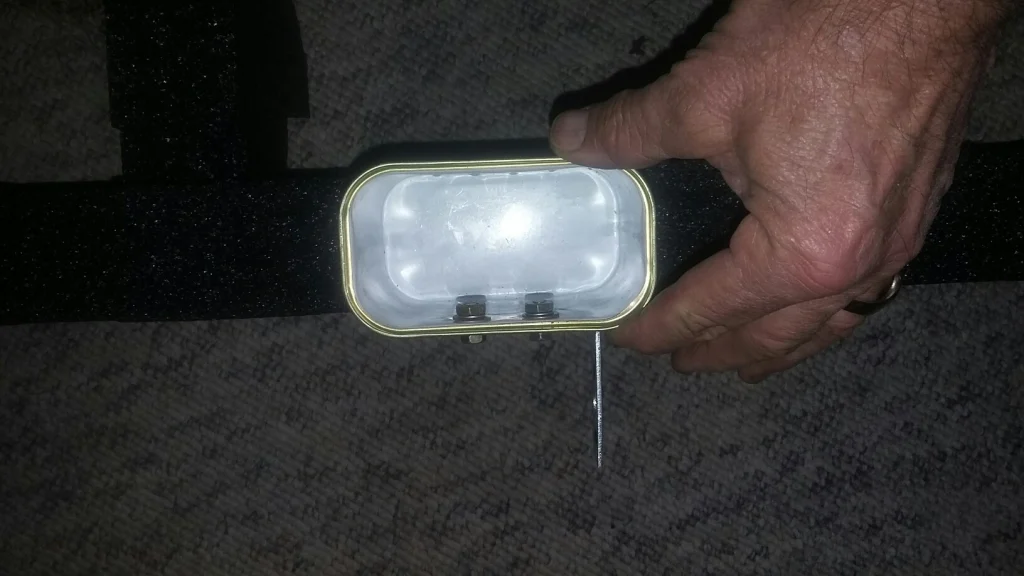
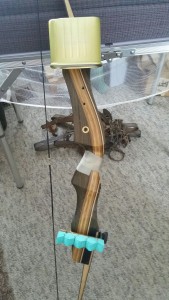
Another expensive part of the bow quiver was this can; a can of wonderful processed meat! SPAM! In this case Spamwannabe, but the can is exactly the same. I introduce “My Hood”! Deep and wide enough to handle broad heads and extremely light weight!
A couple of small holes drilled and some very short bolts, washers and nuts and BINGO! A hood!
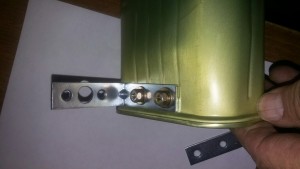
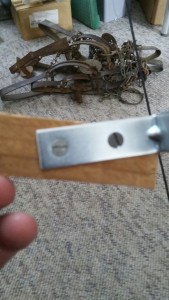
I had to drill the larger hole in the L bracket to fit the limb bolt on my bow. I think it is a 3/8 inch hole, but don’t hold me to that, besides your limb bolt might be a different size. Side note: After mounting it to the bow, I can see some modifications in the near future, including adding some rubber washers on either side of the limb mounting bolt to lessen vibration and assure a tight fit.
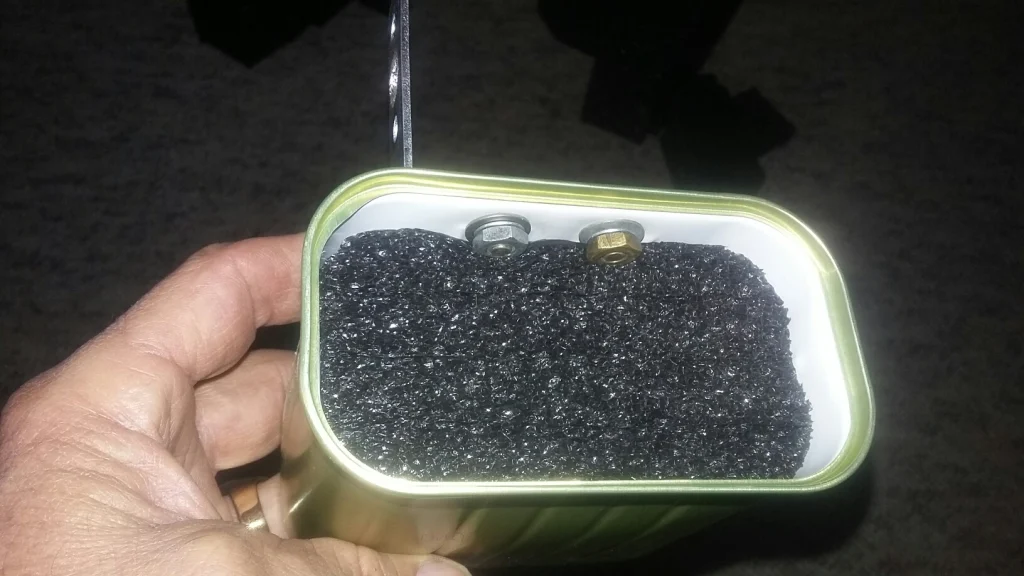
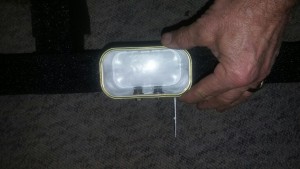
I cut the foam down carefully using a razor knife and then pressed it into the can for a very tight fit.
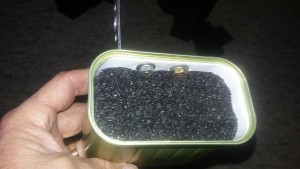
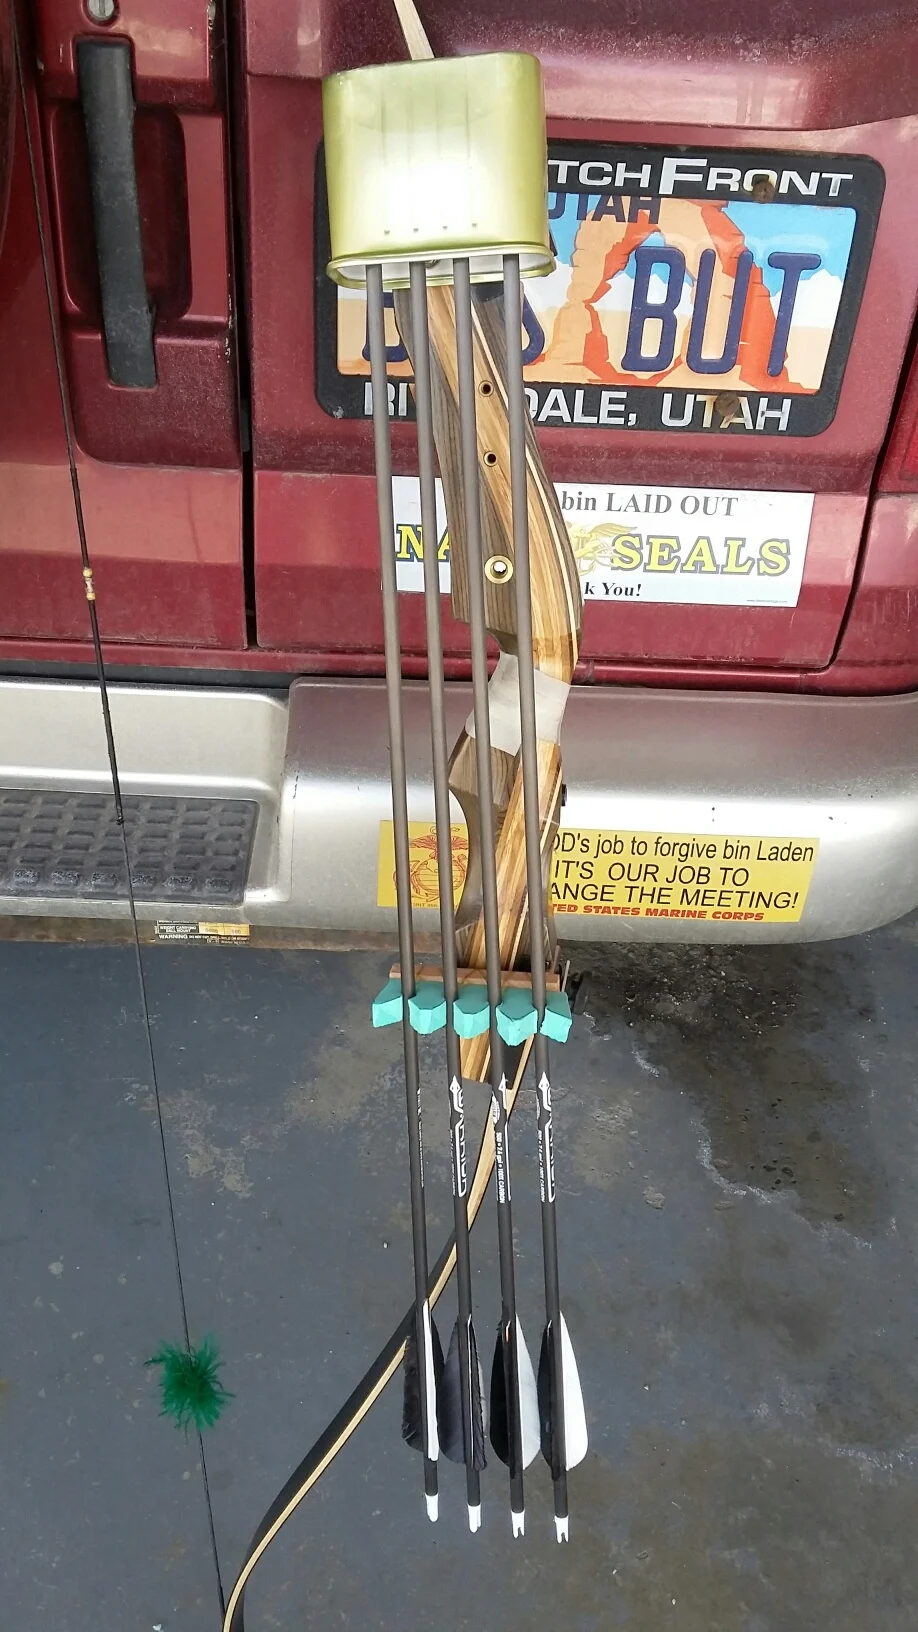
When I get my broad heads, I will make slits in this foam to accept the blades of the broad heads. I think this should fit at least 3 and maybe 4 arrows with broad heads, but for now it will hold 4 field tip arrows fine!
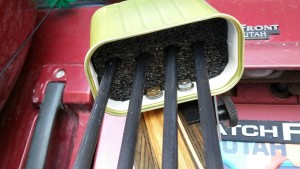
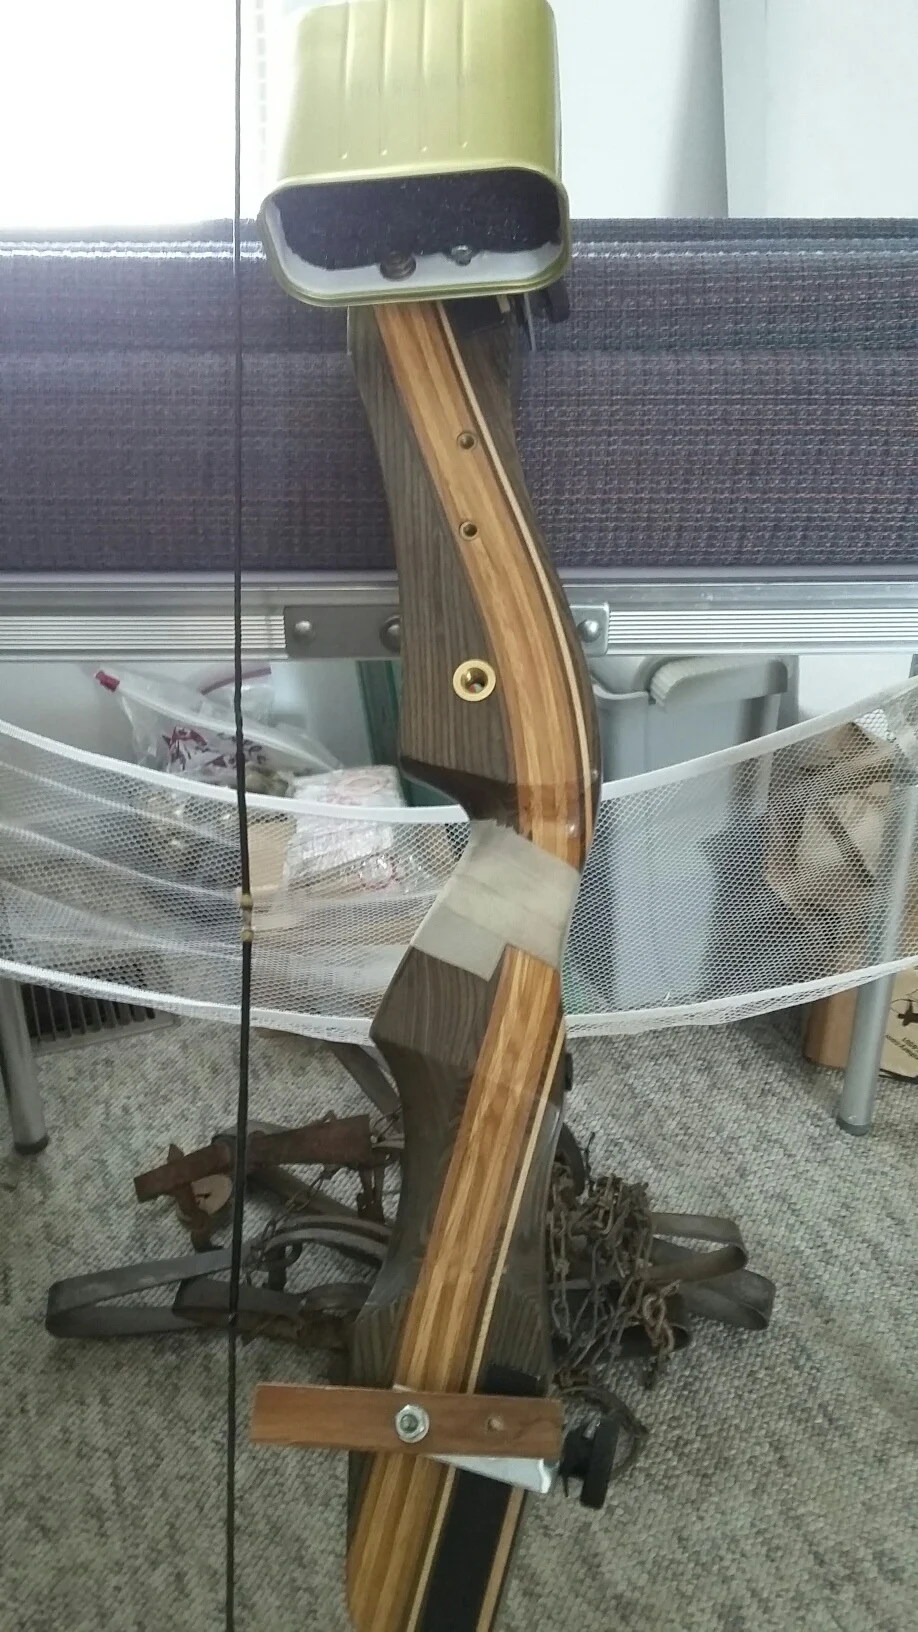
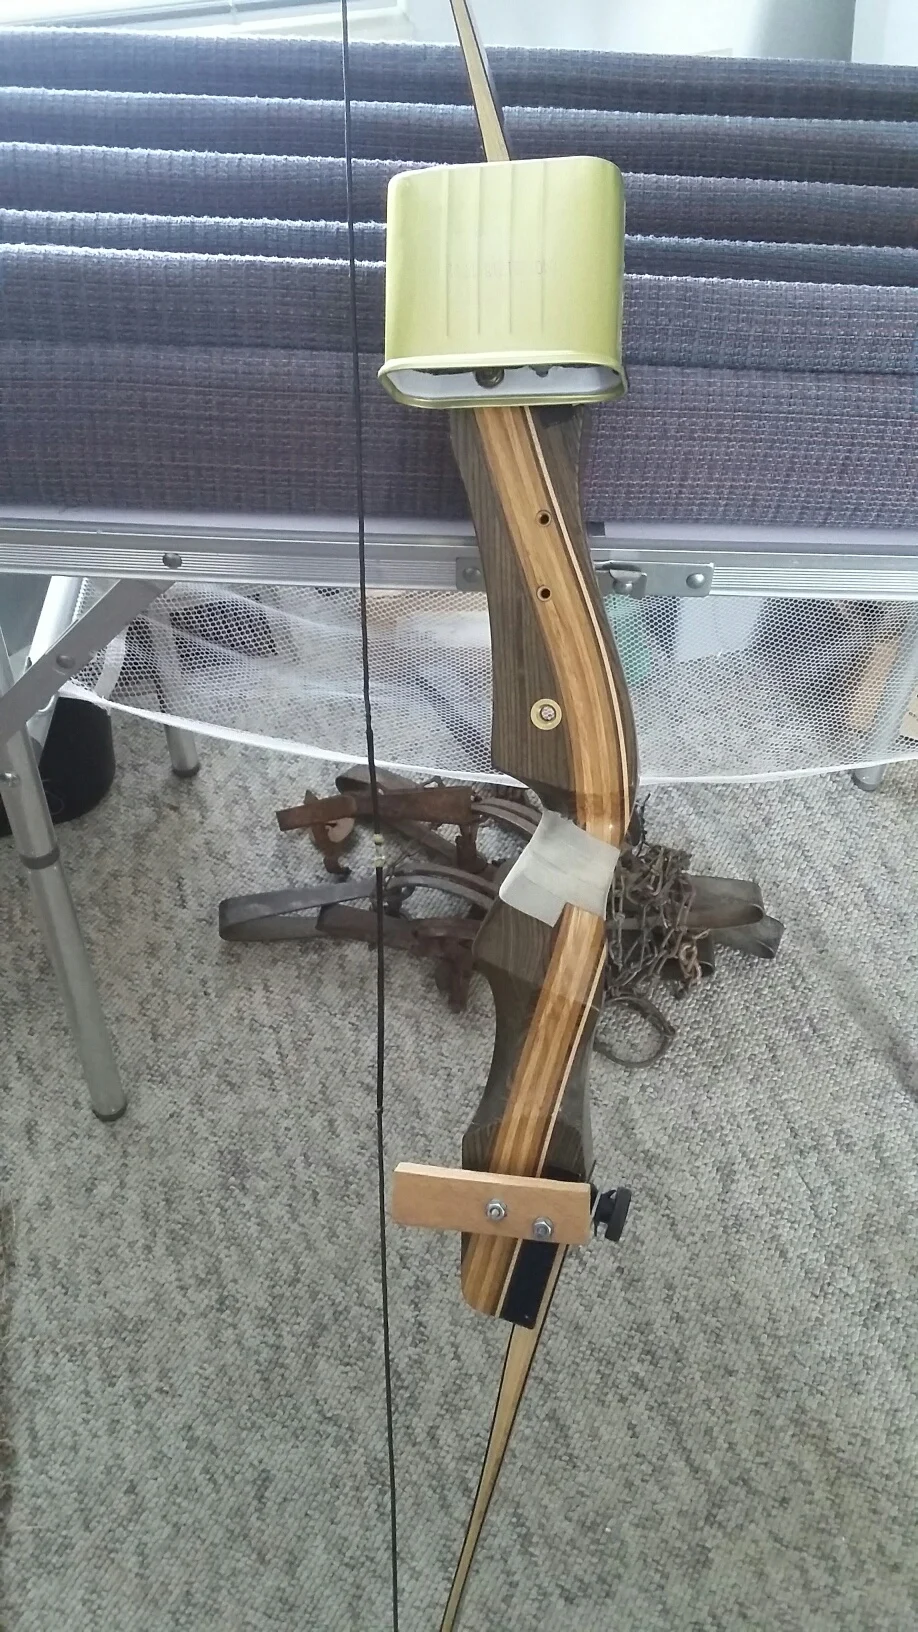
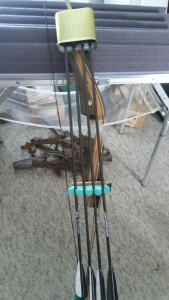
And with that! I introduce you to the Bears Butt version of a bow quiver that mounts to your bow using the limb bolts!
Like I said, it isn’t perfect, but it sure will work! Some tweaking in the future and it will be wonderful. Total cost, about $5. AND I have Spam for some breakfasts and lunches! I have additional plans to spray some “bed liner” stuff on the can and then spray that with camo paints. The green arrow holder will remain green, as I have taken a particular likin to green.
As far as I know, this is the first and only Do It Yourself (DIY) on the internet showing you how to make a bow quiver with a hood. If I’m wrong…oh well…I looked and looked and decided I had to be the one to open this internet door!
If you are in the market for a bow quiver, use the heck out of my trials and give it hell!
Bears Butt
February 2, 2016
KEEP READING, THERE IS MORE!!!!
I got to looking at the quiver and decided it needed some tweaking! I am not usually one who looks at things as needing to be squared, but in this case the arrow tip on the right side of the quiver actually came in contact with the hood and that is not a good thing. Especially with broad heads, that would quickly dull the edge.
So, since I had all my honey-do’s all done and nobody to go ice fishing with, I decided it was a good time to make the changes needed to make this bow quiver better.
I loosened the bolts and mounted it back on the bow.
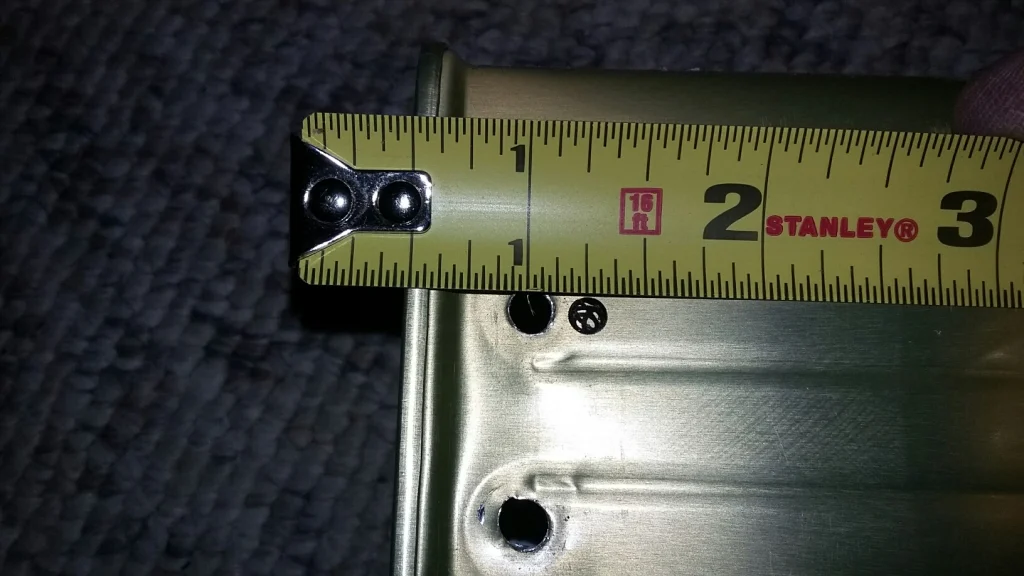
You can see from this picture that by squaring the can it will make the arrow tips fit better and not touch the sides of the can (hood). How much did I have to move it?

From the old hole to where I need to drill a new one is 1/4 inch.
So, with the hood squared away, the bottom arrow holder needs to be moved as well. This is how much I will have to move it. See the silver color of the mounting bracket? Well, my wood is not wide enough to be able to drill it, so I will have to cut another piece of wood. I measured and decided an inch wide piece of wood will work fine.
I probably should have moved the hole from the center of the wood out toward the edge to give the new hole more wood to work with, but I’ll let this go for now. Should it break, which I don’t think it will, the next one will be drilled with more wood on either side of both holes.

After re-attaching the green foam to this new piece of wood, I was ready to try it out.
That looks a lot better.
OLD!

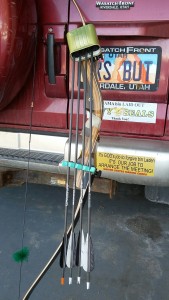
NEW! New is much better than OLD. I’m a much happier boy now! But wait! It is still not done! What would a deer or elk think if I was to show up in the woods looking like this? Why, heck they would run away for sure! It’s time for some camo!
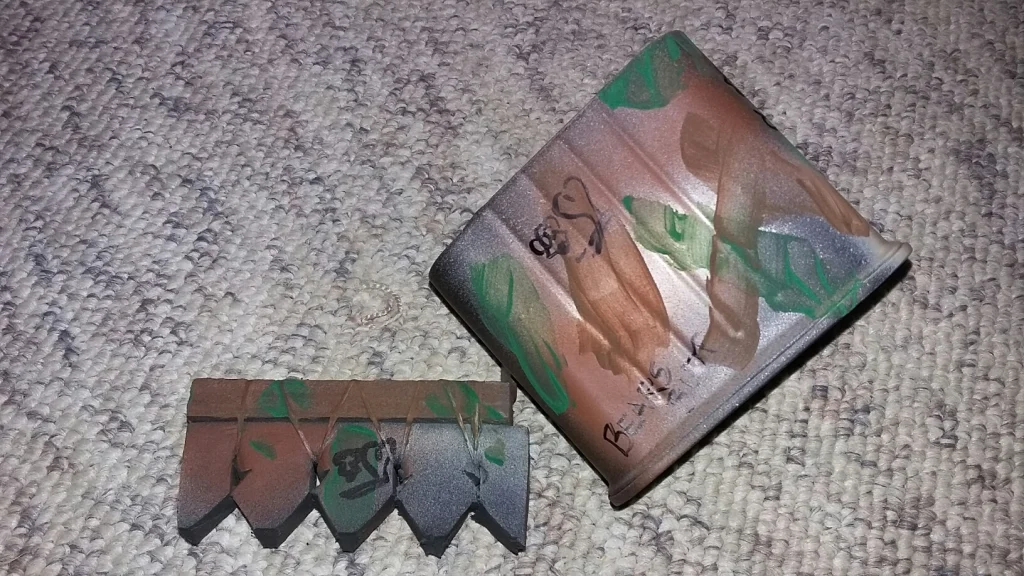
A bit of flat spray paint and a dab or two of other colors and of course the original Bears Butt logo and we are good to go!
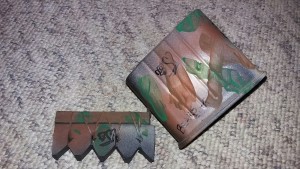
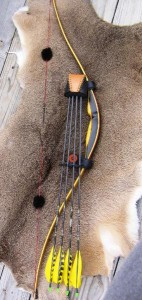
Oh ya! Baby we got this!
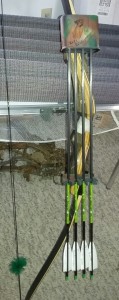
We are ready now! Spam can bow quiver! And now we are ready to go hunting! Well, almost, we still have to get some broad heads and make sure the arrows are tuned to hit at least to the 20 yard mark.
Bears Butt
February 7, 2016
I sent this “build” to Trade Archery World magazine with thoughts that they might publish it. We will see!
http://www.tradarchersworld.com/
Bears Butt
February 22, 2016
WELL, WELL, WELL! What do you know? Todays mail held an absolutely amazing magazine and a check in an amount that will net me another dozen arrows and maybe a couple side items!
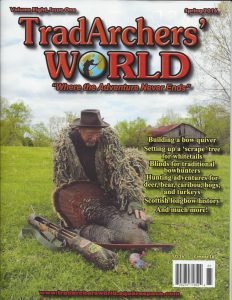
And inside the magazine, on page 22 you can read pretty much what I wrote on this website.
Well, there you have it folks!
Bears Butt
April 15, 2016