
Yesterdays Post told you about life after trapping and inside the skinning shed, but without pictures I probably didn’t explain it well enough. So we took a few pictures of the process’ yesterday and I thought it appropriate to re-do the explanation of the different process’ and include those pictures. I want to caution all you trappers to wear rubber gloves while handling your furs. Critters carry diseases and some of these diseases can kill you. You are working with sharp knives and tools that poke holes etc. And I sure would not want to be the one responsible for your death….wear those protective gloves!
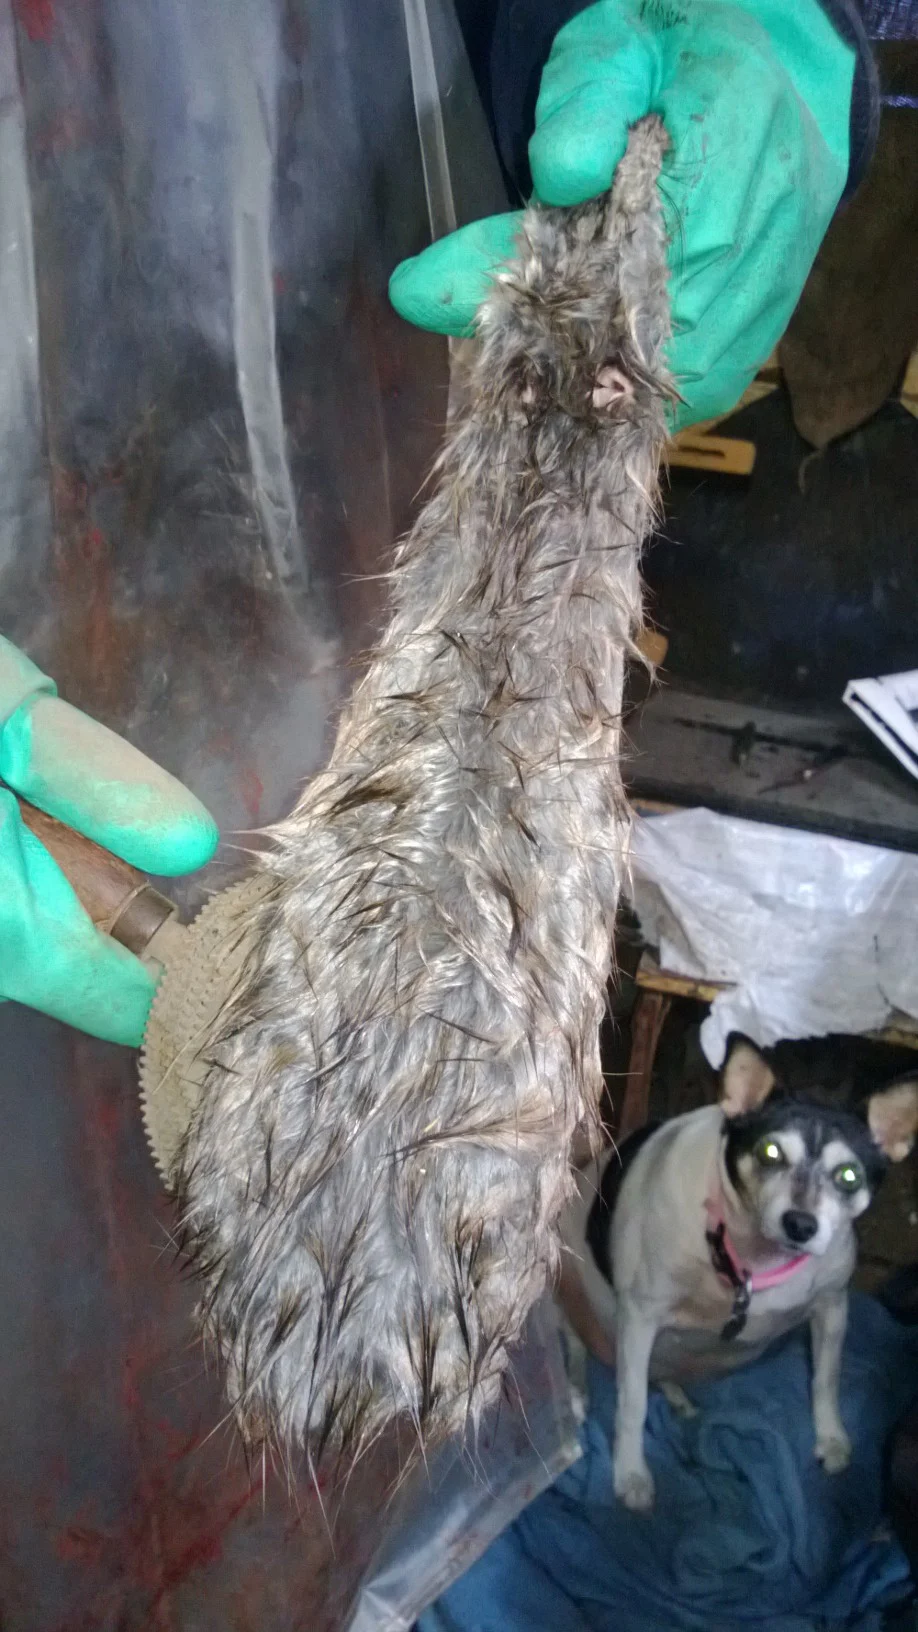
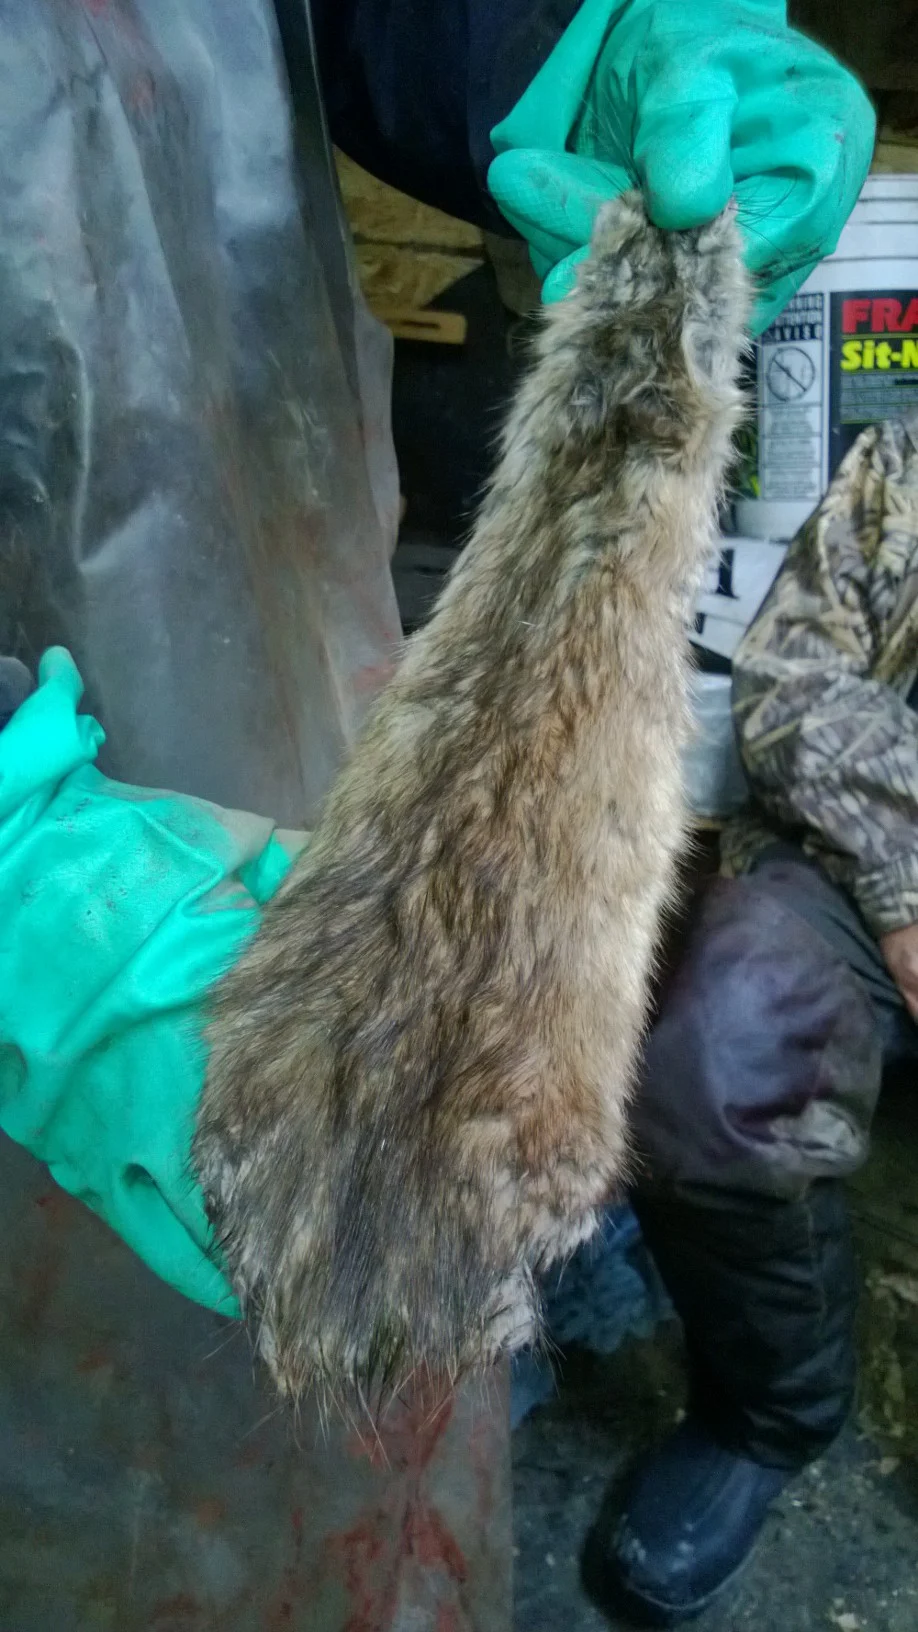
As you recall, these two pictures are “before combing” and “after combing”. A close inspection of the two pictures clearly shows how much better the combed fur looks.

 There is no question about the improvement and by doing this with every rat we put up, will only make our grade higher. A little time now will help make our batch of rats stand out from the normal at the auction house….at least we hope so.
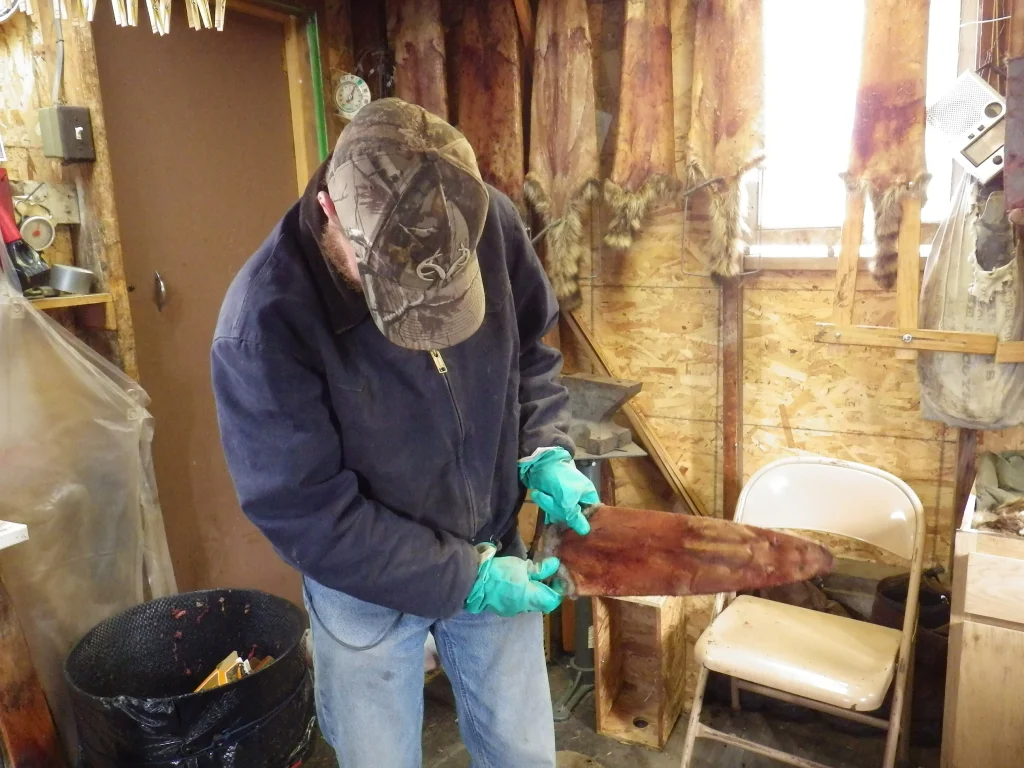
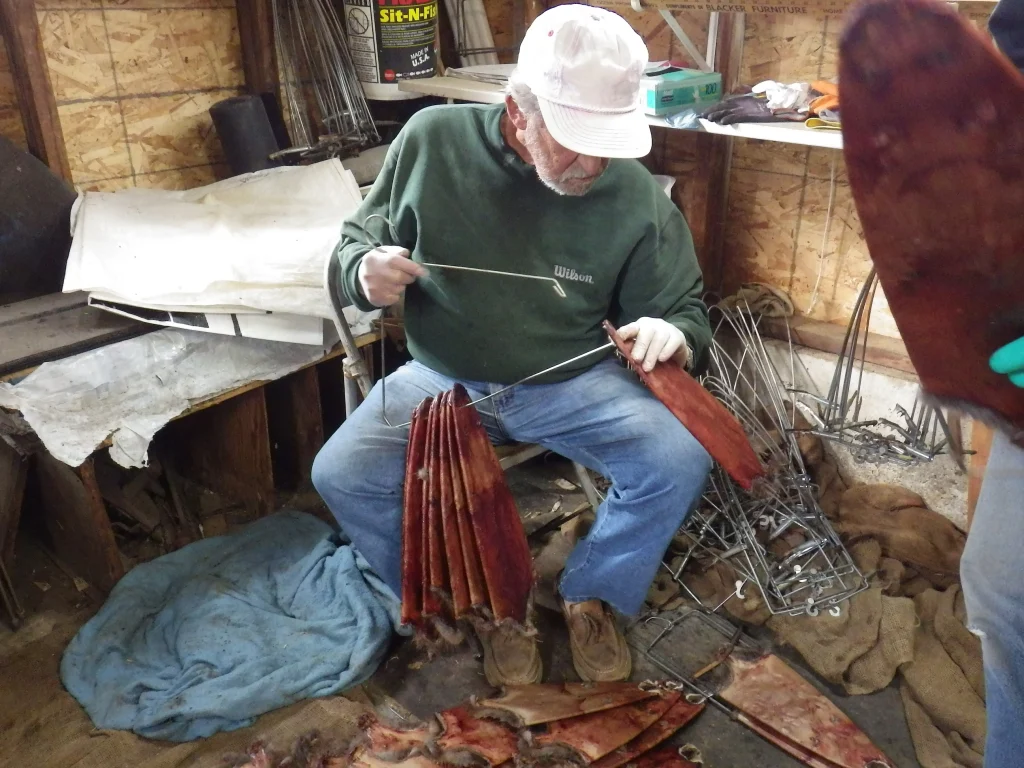
From the combing of the dried furs comes the fleshing of the skins. Fleshing involves the removal of extra meat and fat that clings to the underside of the skinned fur. You can’t expect to remove that in the skinning process and nearly every fur handled in the shed needs a certain amount of fleshing. Some more than others, but nearly all of them have some flesh or fat that is excess and needs removal. In my limited experience with foxes and bobcats, they were the only animal skins that didn’t have much to flesh. Raccoons and beaver, on the other hand, make up for the fox and cats as they have a ton of hard to press off fat.
A lot of new trappers who are desirous to get good at putting up skins will question the “fleshing board” and if you search on line you will find that most trappers are using a round pole for their fleshing board. I have found the use of a plain old 1 inch by 6 inch pine board to work just fine. I have it rough cut and the edges rounded somewhat so that I can slip the muskrat hide over the tip and do my fleshing.
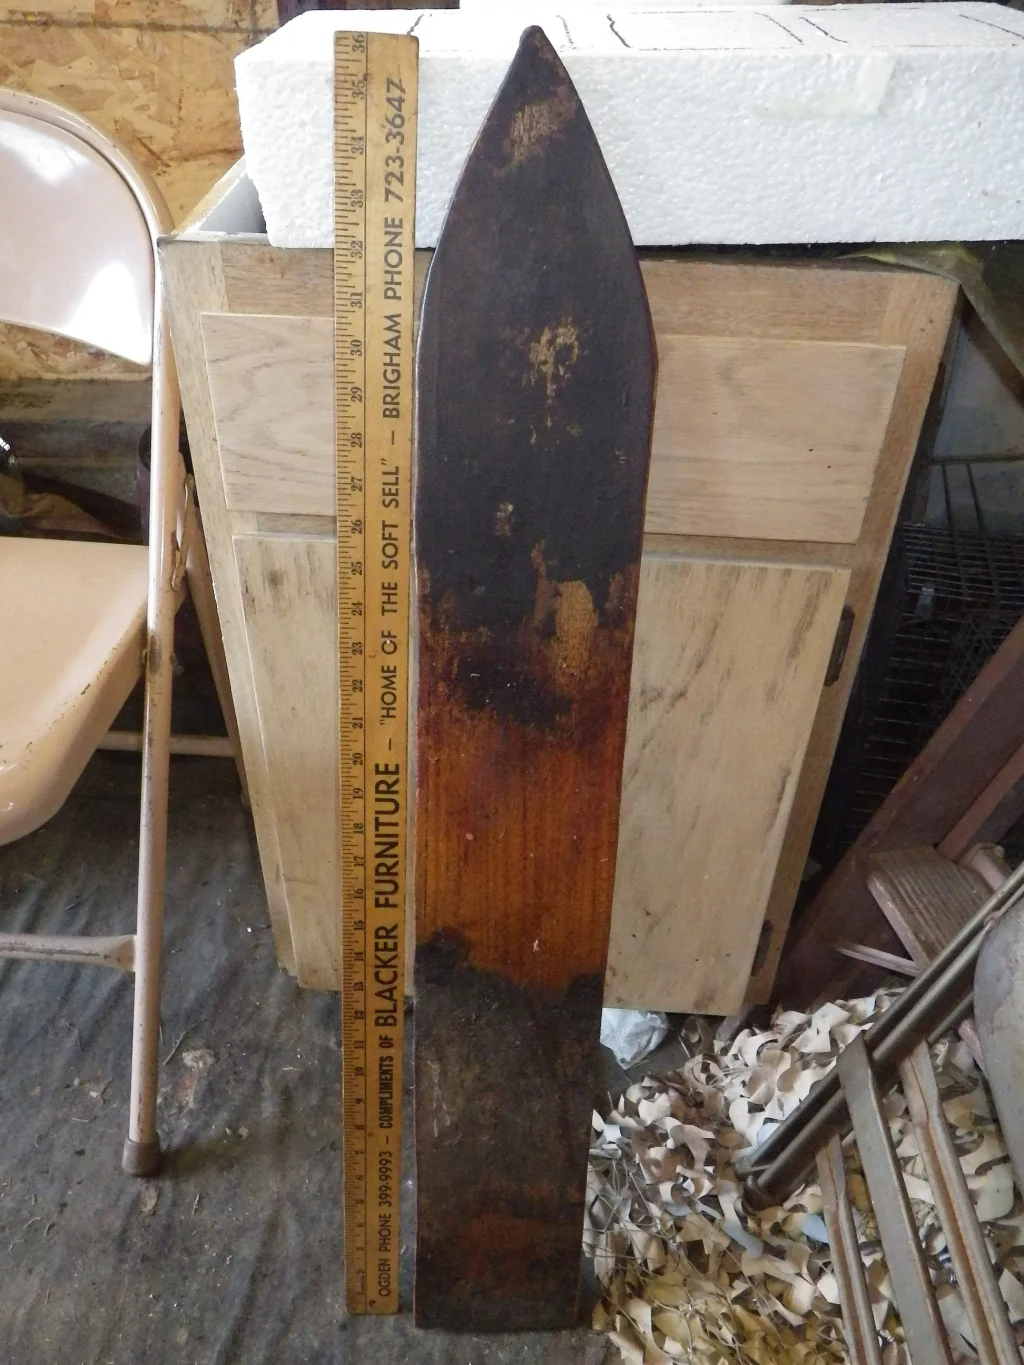
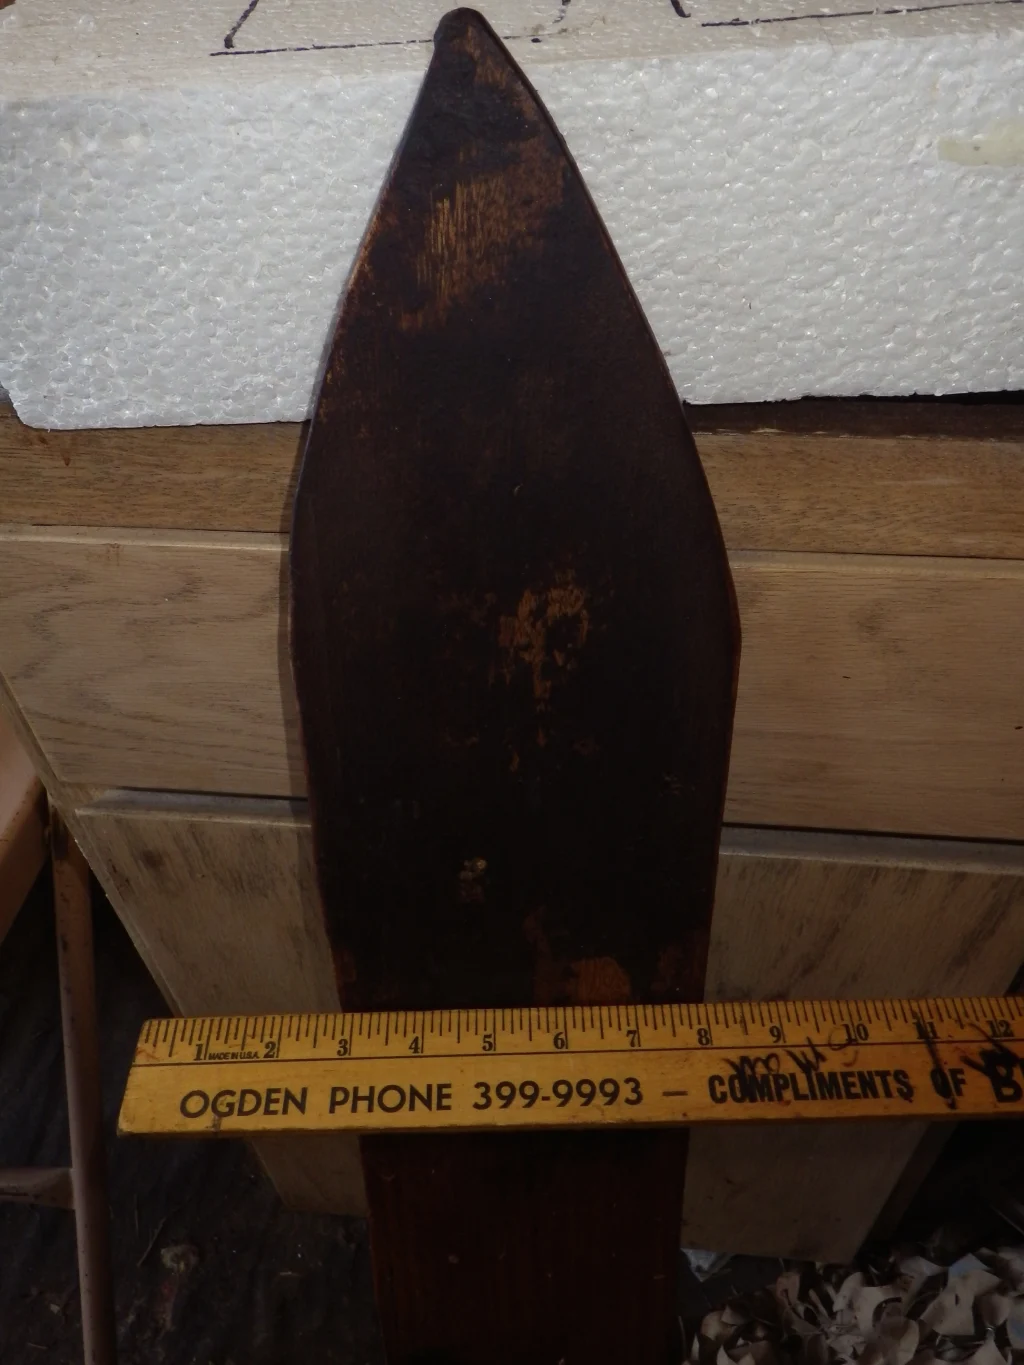
My fleshing tool is nothing more than a automobile window scraper with the pointed edges rounded off to avoid digging into the skins. By using a flat fleshing tool like my window scraper, the flat board is more conducive to getting the skin fleshed properly and quickly. I do have to add an extra step in fleshing and that is to pull the skin partway off the board and turn it in order to get the sides of the skins fleshed, but that doesn’t take a lot of time.
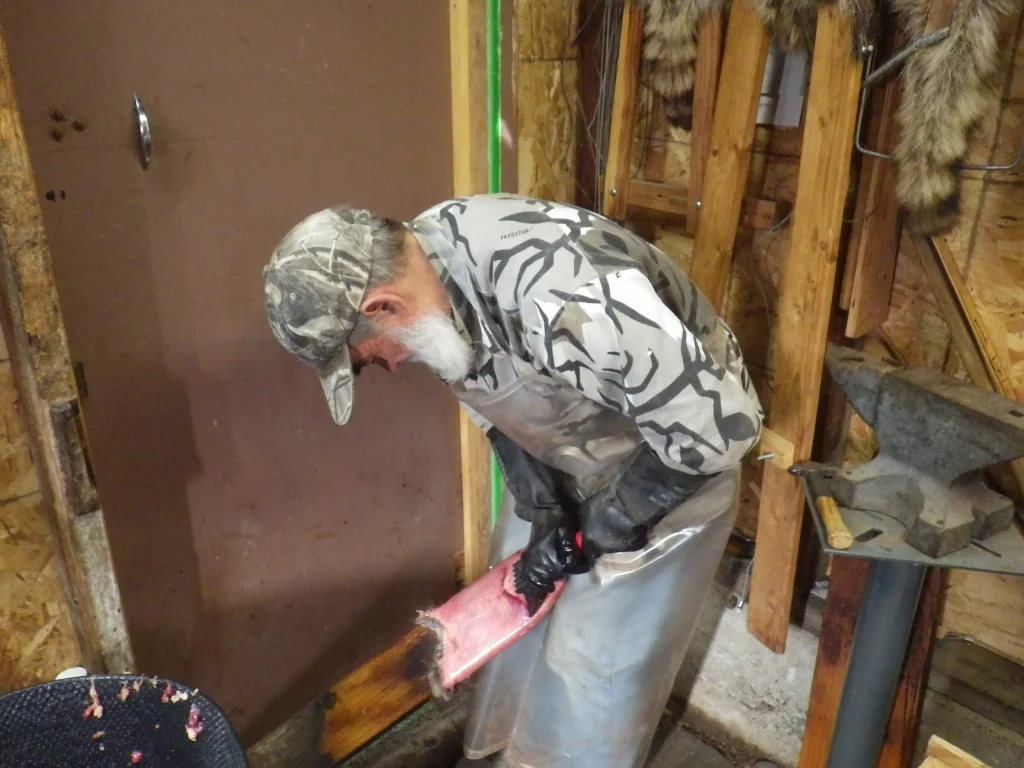
Like I said in my post yesterday, my back really takes a beating when fleshing a lot of skins, but this position is what I’ve found to be best for me to adequately get the job done.
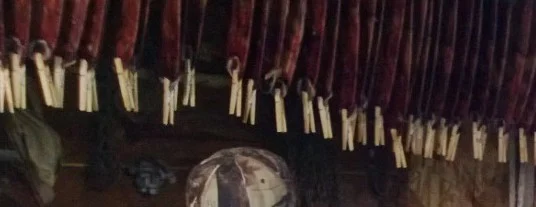
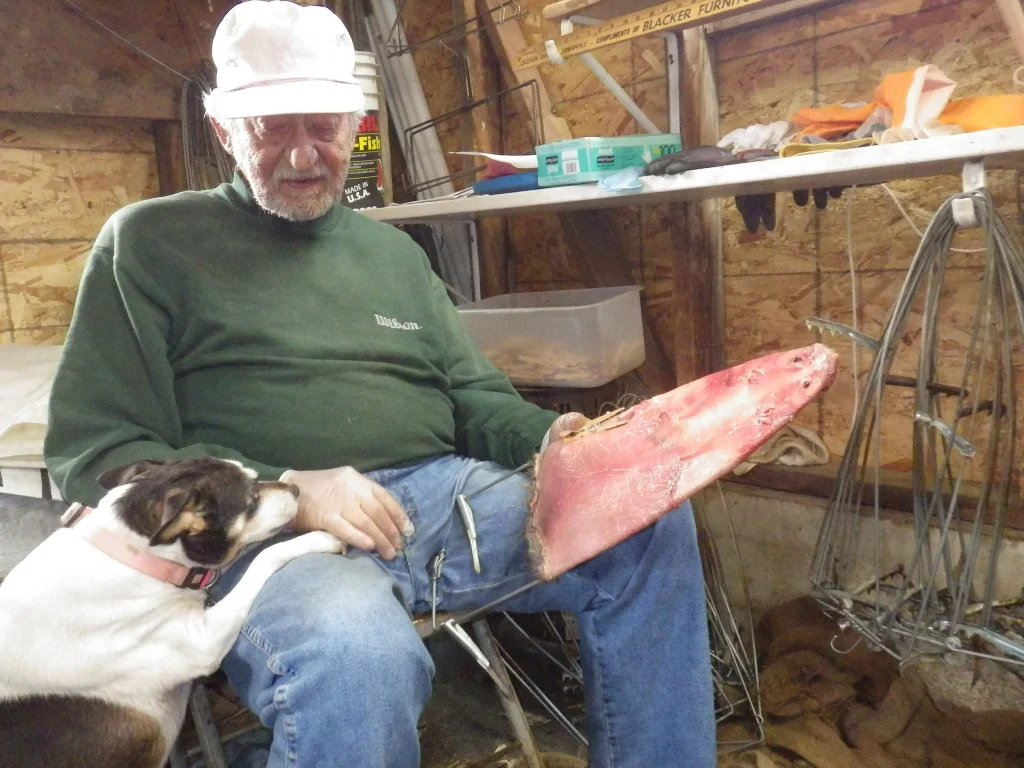
When the skin is fleshed, it’s time to put it on a stretcher to dry. We use wooden clothes pins to hold the nose of the skin onto the end of the stretcher and then pull the hide down as tight as it can be pulled.
Here you see Bob and his friendly dog Abby, putting a skin on a wire stretcher.
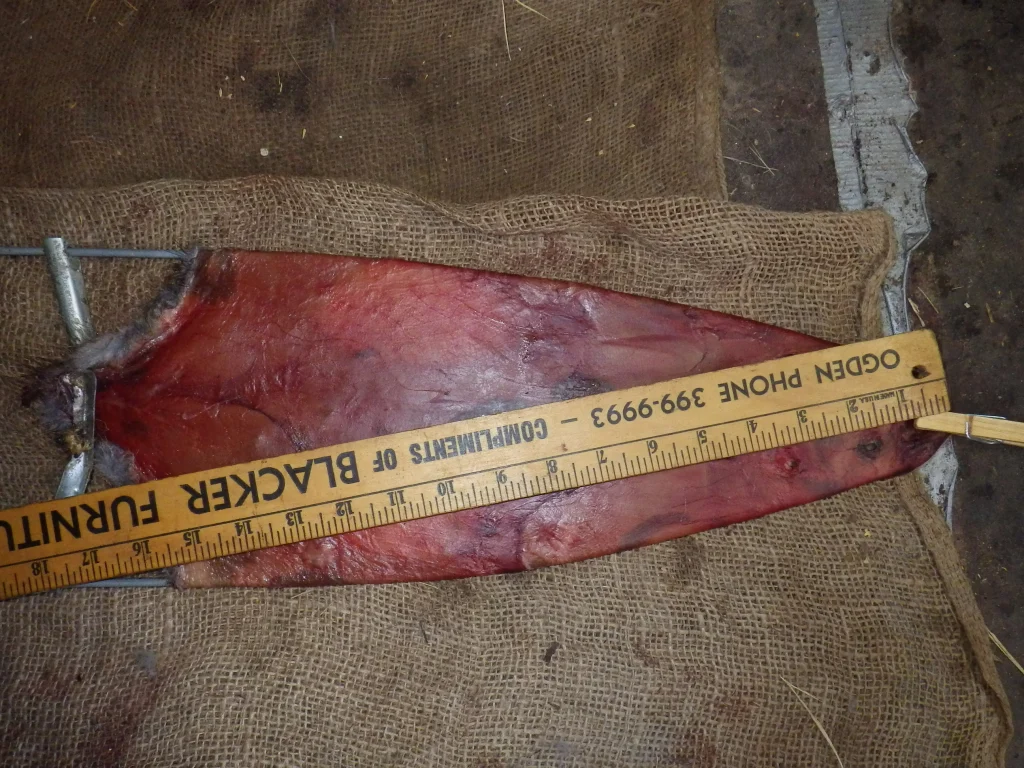
When the people grading the rat hides grade them by size, they measure diagonally from the nose down to the “hip”, rather than the tip of the tail portion.
The stretched hides are hung overhead on wires to dry. It’s important to note that the temperature inside the drying room should not exceed 70 degrees, at least not for too long a time. The ideal temperature for drying furs is between 55 and 65 degrees and the use of a fan in the room is always advisable to keep the air moving. Our skinning and drying shed has vents in both gable ends that can be opened or closed to assist in the air flow in the upper reaches of the shed.
When the trapper has exceeded the amount of space he has available to hang the drying hides on the stretchers he has to do something with those dried hides to make more room. We utilize large wire hangers to put the dried hides on. We have our way of doing things and for you beginning to get into putting up your own hides you too will find a strategy that works for you. Here Weasel is taking hides off of the stretchers and piling them up on the floor, while Bob is putting them on the hangers.
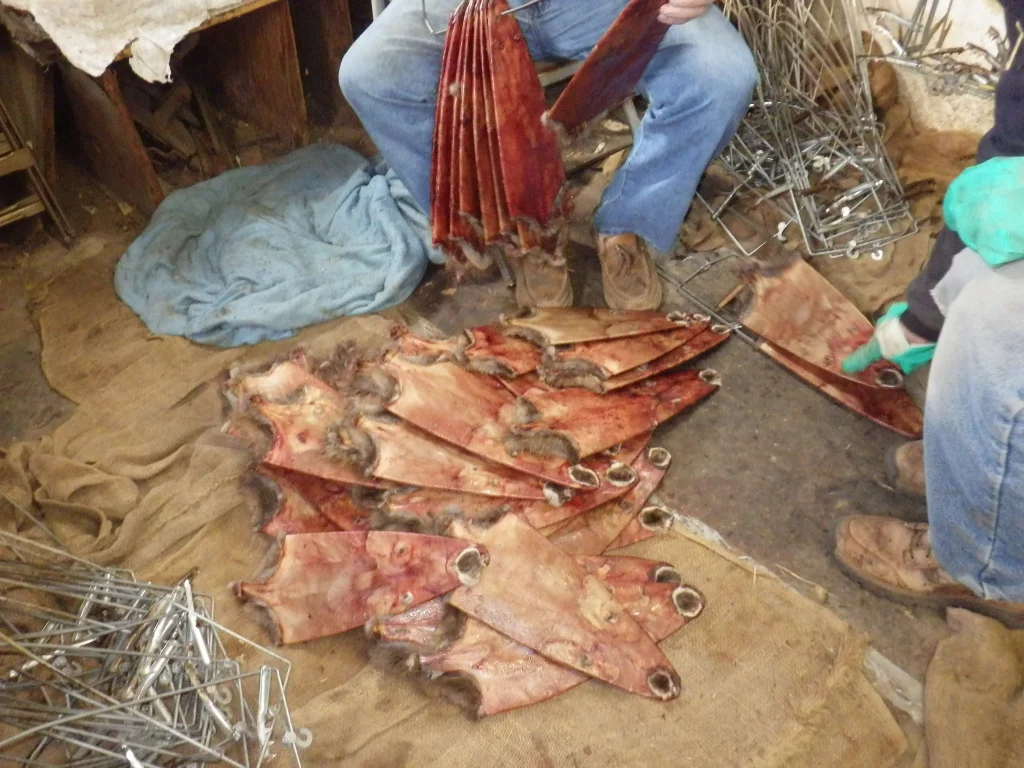
We like to limit the number of hides on one stretcher to 20. That allows us to keep them separated to allow for air to circulate around them and they will continue to dry without getting moldy.
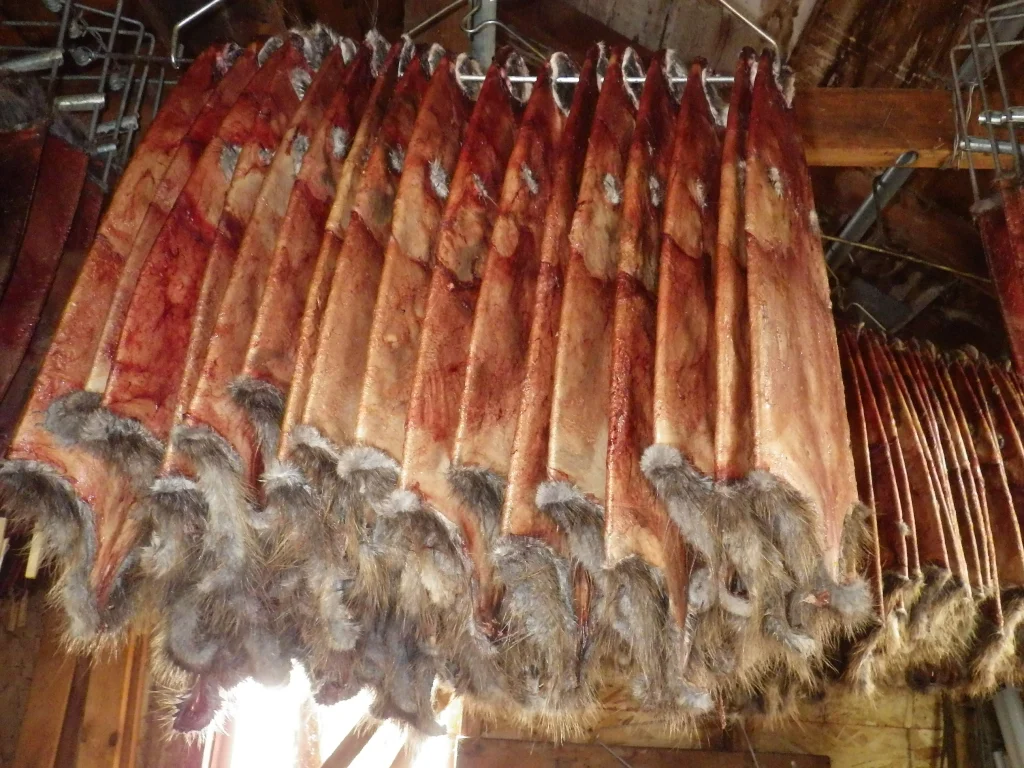
You might be wondering where we determine to poke a hole in the hide in order to put them on the hangers…we don’t poke a hole, there is already an eye hole and we use that.
There is a very good resource to download and print about proper fur handling at this site:
https://www.nafa.ca/trapper/Resources/NAFA_PeltHandlingManual_2009.pdf
We have a printed copy of it hanging in our skinning shed and we refer to it often. The part we use the most deals with muskrats, since that is the number one fur we handle. But we have used it for beaver, raccoon and fox. This just might be the best information you could possibly use in setting yourself up to handle furs. It covers all aspects of handling furs, from catching them and proper handling in the field, to skinning, fleshing and stretching. It has it all!
Good luck in your trapping adventures and maybe we will cross paths someday out in the field!
Bears Butt
March 19, 2014