What you are looking at here is a dutch oven that has been very much forgotten about. Several years ago 5 of us drew out a special hunting tag in the Crawford mountains one that was to go down in all time and eternity as “the best hunt ever”!
With all our time being spent on hunting these big old bruiser bucks, we didn’t take the time to clean up after every meal. In our minds we were doing just fine and in reality we were, but just barely enough cleanup to keep us all from coming down with some dreaded problem.
Well, the other day I decided to make “Rabbit Chicken” for the grandkids and whoever else wanted to share in the delight of that meal. I knew I’d need a big deep dutch oven to cook it all up. So to the garage I went and found the 14 inch dutch oven. Into the kitchen I went to wash off the dust from the lid and open it up to rinse it out….a very typical event because I don’t use the bigger dutch ovens all that much.
I rinsed the lid off and tried to open it…stuck bad! I grabbed a wooden spoon out of the “big ticket” drawer and banged it against the side of the lid. Usually a couple of whacks and it comes off. This time after the 4th smack the spoon broke! My bad!
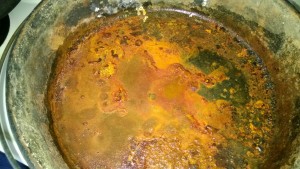
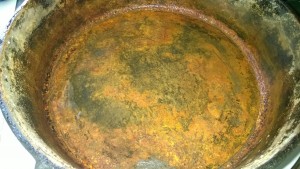
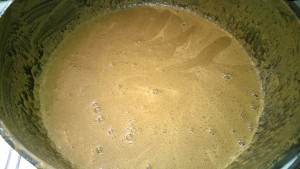
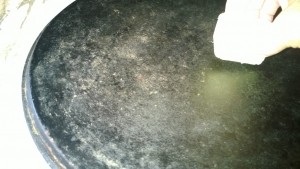
I took the oven out to the garage and gently tapped it with a ball peen hammer and when the lid popped off this is what I was looking at (top picture)! About 1/4 inch deep rust in the bottom and growing stuff on the sides! Mind you, this is several years of the growing stuff trying to get out of there. It dawned on me that the last time this oven was used was on that hunt when we made none other than “Rabbit Chicken” in it for the whole gang! I have to say it looks pretty clean as we didn’t leave any chicken in it!
Needless to say I was not going to use that pan today to make the chicken for the grandkids. I went to the backup dutch oven and made the meal. But what about this disgusting mess? Can it be saved? Would it be better to chuck it and go buy another one? Never say Never! I’ll save this bad boy! Then it hit me…I can do a “how to” and post it up on here for you to know just how to save an old dutch oven from the land fill! Here goes!
Keep in mind this is the way I did it and it will work. Others might do some things different and I hope we get some remarks on here explaining their methods. I can almost hear one coming from Softball about tossing the thing into a burning fire and letting the fire work things out. OK…this pot is rusted beyond belief. The only way we can salvage this pot is to get it back to the “metal” state it was when it was first made. That is my goal!
It is going to require heat, acid and some heavy duty scrubbing!
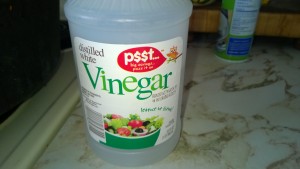
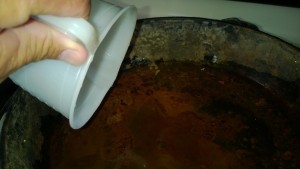
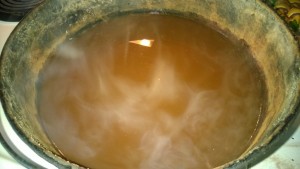
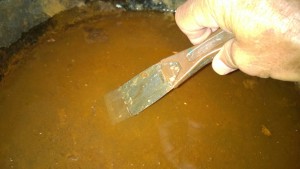
The object here is to get the acid in the vinegar to get under the rust and lift it off the metal that created it. But just boiling the vinegar water is not going to do the job all by itself. It is going to require a little assistance from a putty knife!
Being careful so that I didn’t get the boiling hot water on my hand I scraped and scraped the bottom of the pan. After a while I could feel where the rust was still clinging on for all its might. But as I worked at it the bottom of the pan became more and more slick. I knew I was on the winning end of things. Pretty soon (like an hour later) I felt like this was about all that could be done and it was time to go to step two. So I turned off the stove and took the mess outside and tossed it out of the pan and onto the gravel road.
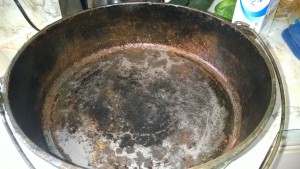
It is obvious there is still a lot of work left to do to get out that rust, but at least there isn’t the big flaky chunks in there. Time for the steel wool! (Side note: It is raining pretty good here as I’m typing and I looked outside and said to myself…Bears Butt, you best save this draft just in case there is a power bump…I hit “save draft”, and started to load the next picture when….poof…power bump….3 seconds more and I would have been cussing instead of smiling).
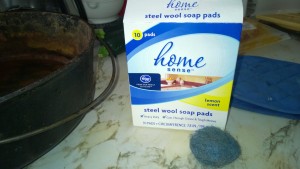
Keep in mind, we are on a quest to save a badly neglected dutch oven and so, vinegar, soap, scrubbing steel wool and all of the cleaning things in the world are what we are using. In all other cases, only rinse with hot water and scrub using mild abrasive plastic scrubbers or wash clothes and NEVER add soap or other cleaners to the inside of a dutch oven. You want your oven to be slippery from cooking things in side it. Black is beautiful!
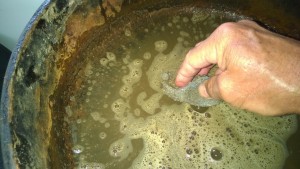
So, here I go with the steel wool scrubbing. I added about 1/4 cup of water to the pan and began scrubbing. After two steel wool pads I decided to rinse out the pan and take another look. The sticky mess in the bottom of the pan was a cruel reminder to never neglect my pan again.
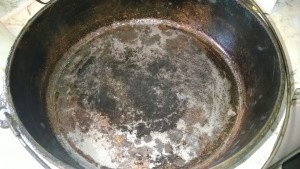
You have to admit it is looking better, but still not quite there yet. I’ve been at this task now for nearly two hours. But the box of steel wool pads still has 4 in it! Let’s use some! And back to work I go, 1/4 cup water and more scrubbing. The froth doesn’t look quite as reddish this time when after two more steel pads I decide to rinse and take a look.
To some of you, you would probably say this is too much work and give up. I’ve been cooking with dutch ovens long enough to know that I’m not the first one to go through this sort of clean up and it probably won’t be the last. These ovens are made to be used and they sometimes get neglected, but they are still a great work of art and worth cleaning up. That rust that you see in that pan will become just a color once the pan is “seasoned” again and it will not effect the taste of the food, nor will it cause any ill effects to the people eating that same food.
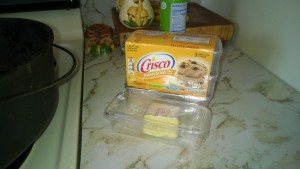
I continued to work on the larger patches of rust, using a knife and scraping here and there. Once that was rinsed I was satisfied it was ready to be “seasoned”. Seasoned is a way to say “sealing the pores of the metal” and the best way I have found to do that is to heat the pan (and lid) enough to melt Crisco and then put them in the oven at 500 degrees for awhile to expand the pores of the metal and get that Crisco oil down into the pores to seal it all up. Other people use lard, vegetable oil or some other cooking oil, bacon grease or whatever to do the same thing…butter works too. The object is to get a “cooking oil” into the pores of the pan so the rust and stuff can’t come off and into the food. This seasoning is the “base” layer to what will become your favorite pan to cook with as long as you don’t put cleaning soap in it once you have cooked with it.
Once I was done with the scraping I rinsed it one last time and heated it to make sure it was completely dry before adding the Crisco.
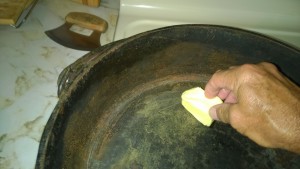
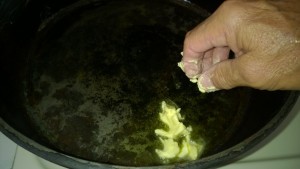
So, I smeared a good coating of Crisco on the inside of the lid and around inside the pan (don’t forget to coat the sides)!
As you can see in the last picture I had excess Crisco in the pan that I needed to remove. So I took a paper towel and got it out. Then using that same paper towel I wiped the entire inside of the pan with it which soaked up a little more excess Crisco. Now it’s time to pop both the lid and the pan into the oven to “cook”!
I have to tell you something at this point: The outside of the pan does not need much attention as who knows what you will subject it to in the future. I’ve had some might fine tasting vittles come out of a dutch oven that had been placed right inside the open fire at a deer hunting camp and you sure as heck don’t need a nice looking dutch oven sitting inside a hot camp fire.
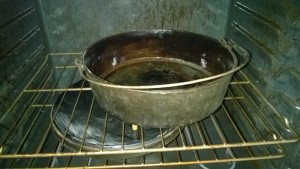
OK! Let’s get this job done! Set the oven to 500 degrees F….THAT my friends is HOT! You are going to let it set in there for about 30 minutes and then turn off the oven and let them sit in there until they are cool to the touch! Once that is done the oven and lid are ready for action once again!
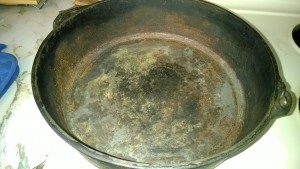
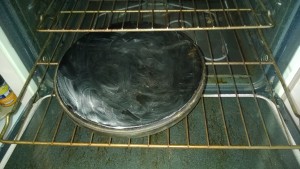
When the timer went off I just turned off the oven and went about my daily chores. It took just over 3 hours of very hard work to get to this point and I was sure glad when it was over. About 2 hours later I pulled them out of the oven and here is what I found.
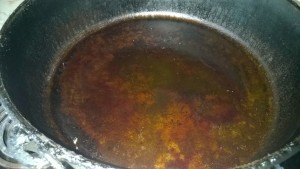
The picture makes it look like it did in the first picture but trust me on this one, there is a very good layer of solid coating between the surface and any rusty looking stuff in that pan. Look closely at the top portion of the bottom of the pan, you can see the glaze and that is covering the entire pan, sides, bottom and all! This pan is ready for some cooking!
Now there is ONE LAST STEP! Sure the pan and lid are ready for action, but if you too want some action, you best clean up the kitchen before the wife comes home!
Bears Butt
September 16, 2015


 Utah Fishing Reports

Maybe you should have tried vinegar and baking soda together and let them sit for a few hours. That might have worked. I seen something on fb last spring about those two cleaning hard water in the toilet bowl, I tried it at the cabin and with a little extra help with a pumas stone it worked and it is very clean even the last time we were up there. Worth a try on your next adventure of leaving your dutch oven uncleaned.
Butt, you know me too well. As you mentioned the casting of the dutch oven into the fire for cleaning. This works great for stuck on food recently cooked. 30 minutes in a hot fire, open the lid and walla CHAR.